Loki Woodcut Process

Here are some process photos for an older woodcut print I made of my dog Loki.

The aforementioned woodcut print (one of two variations):

Loki


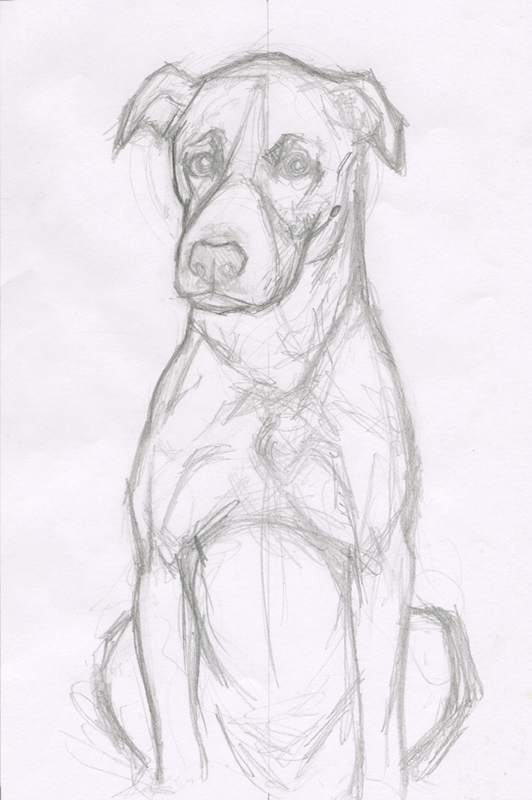
Here’s the preliminary pencil sketch:

Woodcut_Prelim_Pencil

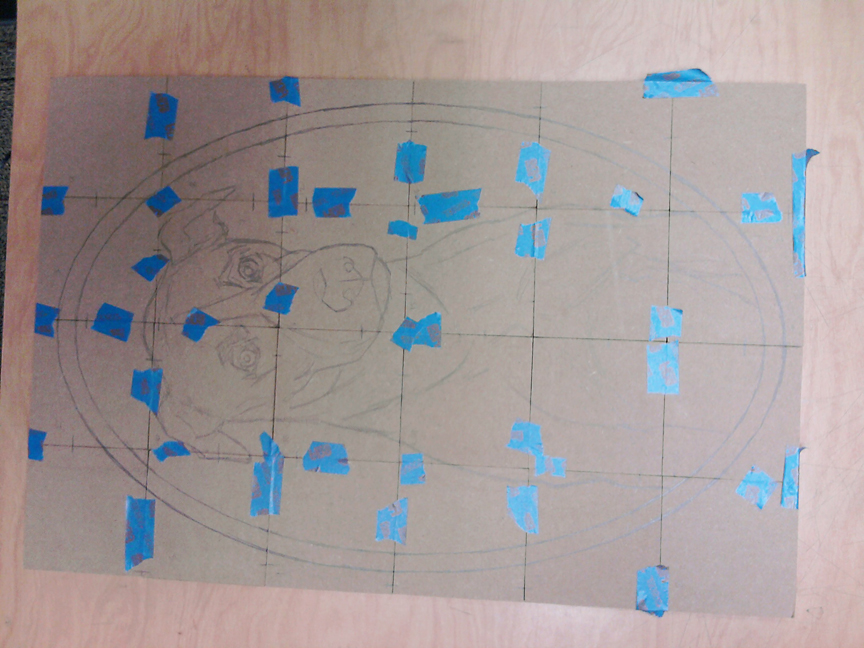
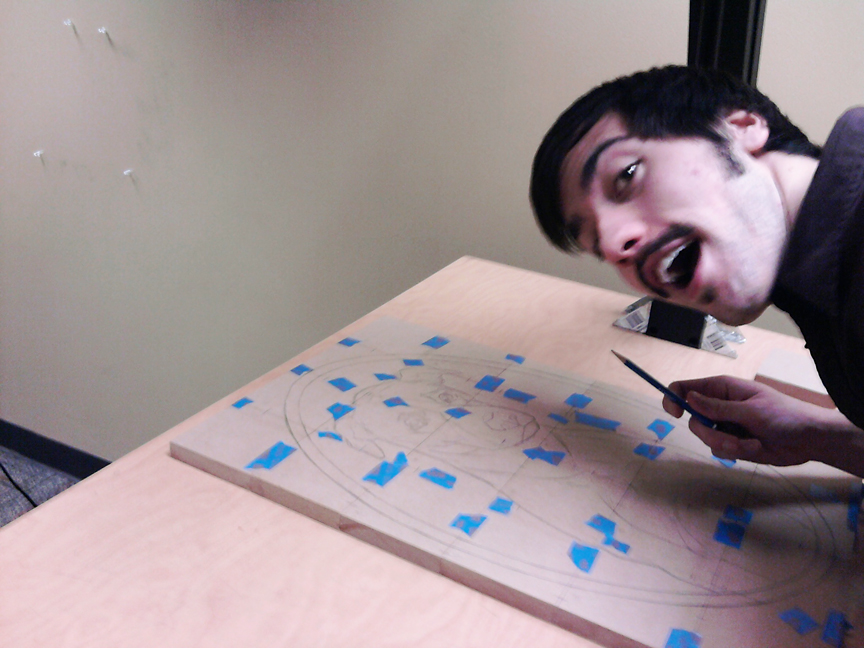
I used a projector and transferred my pencil sketch to the woodblocks (MDF). I had to tape the woodblocks together so that they wouldn’t move as I drew on them (and they did move a little bit). Note that I flipped the image before transferring because when you print it prints in reverse.

Woodcut_1

Woodcut_2

After I had my drawing on the MDF blocks I then had to use woodcutting tools to gouge out the recesses in the wood and then it was time to ink and print.

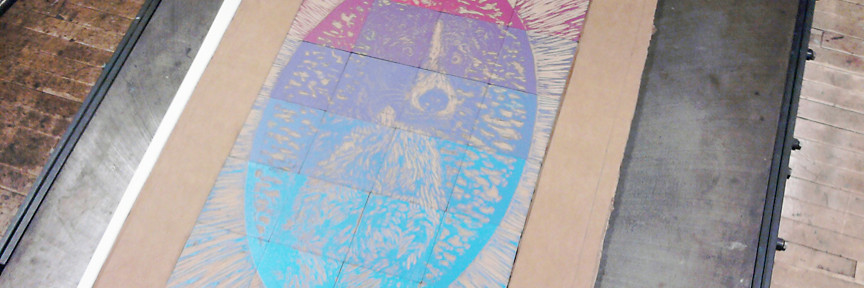
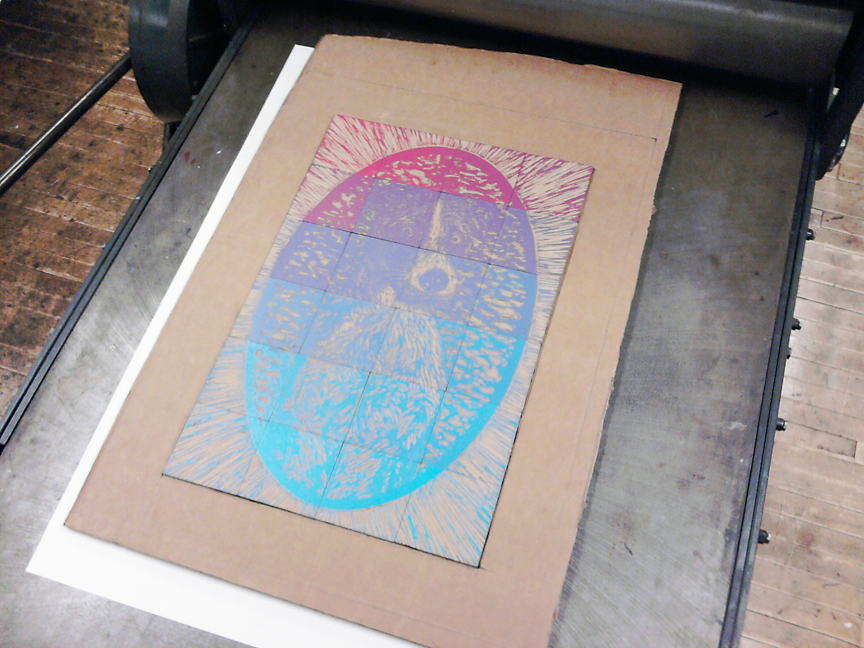
And here’s a photo of the blocks inked up, before I ran it through the press. I made a custom jig to hold the blocks together using some spare cardboard. I think that was my brother’s idea.

Woodcut_3

DIY Graphite Transfer Paper

4_Alcohol

Learn how to inexpensively make graphite transfer paper!

If you are looking for an inexpensive way to transfer a drawing to your board or canvas then I recommend you make some DIY graphite transfer paper! Using a projector to transfer your drawings is very easy too but you have to spend hundreds of dollars on a nice projector (unless you are printing on transparencies and using an old overhead projector) and then you have to make sure the room is dark enough for you to see the projection and you have to line everything up and it can be a hassle. If you scan your drawing (which you should do anyways to add to your digital archive of artwork), and enlarge it, shrink it, do whatever you have to do, and print it out at the exact size of your painting, you can use graphite transfer paper to trace your drawing onto your final surface. Another interesting transfer method is using a printed copy from a laser printer and transferring the image using acrylic medium. I’ll post more about that method later.

What’s the point in buying graphite transfer paper if you can quickly and easily make it yourself? I’m always trying to save money when I can, and making some DIY graphite transfer paper is one way to save a little bit of cash. I should mention that sometimes “saving money” by doing something yourself actually can cost you more money in the end by taking up lots of your time. Time=money. Making your own graphite transfer paper is quick and easy though so you aren’t spending much time on this.

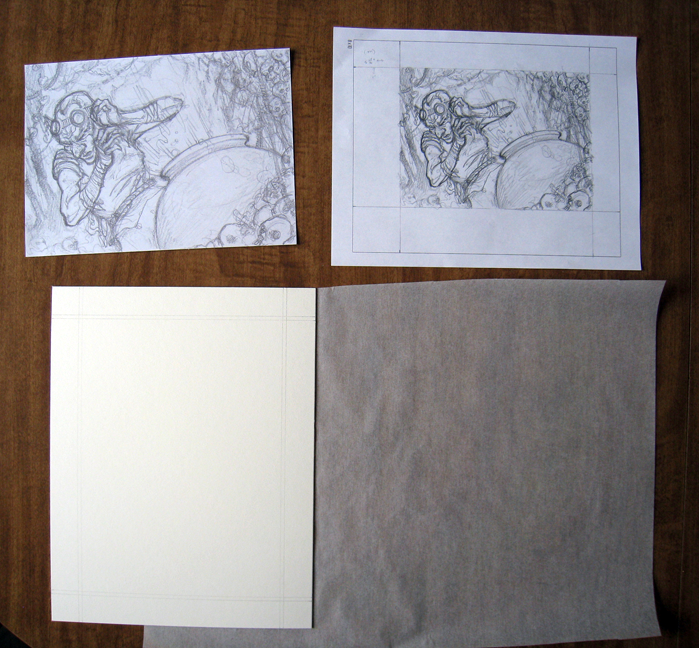
1_Materials

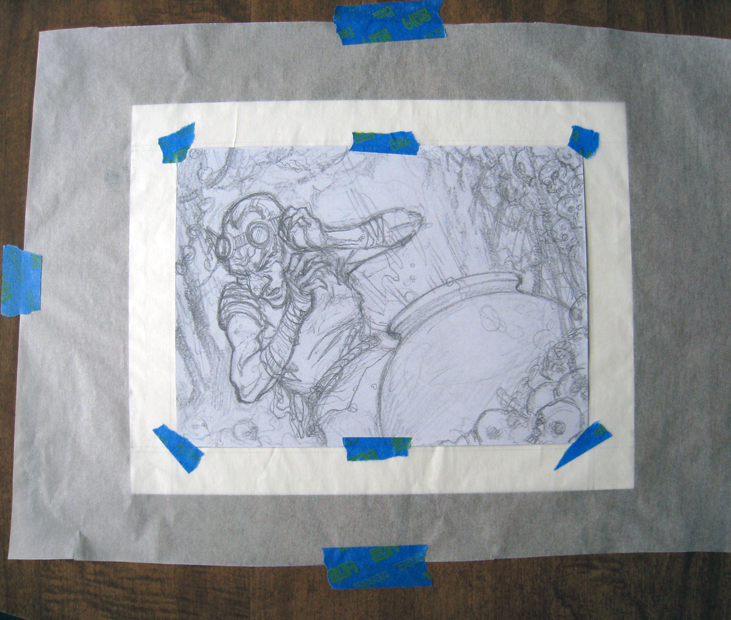
Here I have all of my materials ready. Clockwise from top left: my printed drawing at full size, my original drawing just for reference (not sure why I kept it in the photo), tracing paper, and the illustration board (already ruled and marked for bleed and with a border).


2_Tape

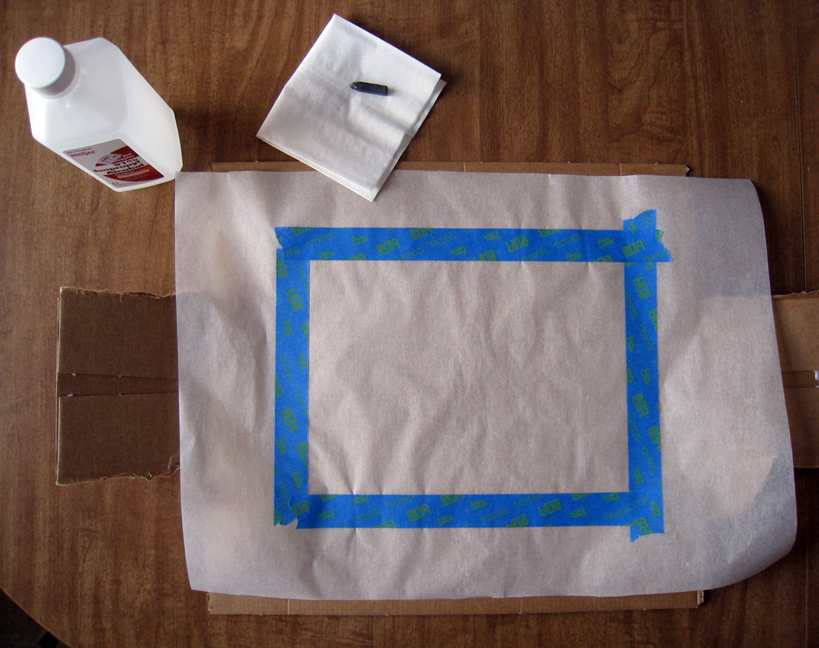
This step is optional but it helps to line up your drawing to your already marked borders on the final surface. I laid the tracing paper over my illustration board and, using the guides on the board, I place painters tape along the edges of the tracing paper. Also in the photo is some isopropyl alcohol, a tissue, a 6B graphite stick, and some cardboard.


3_Graphite

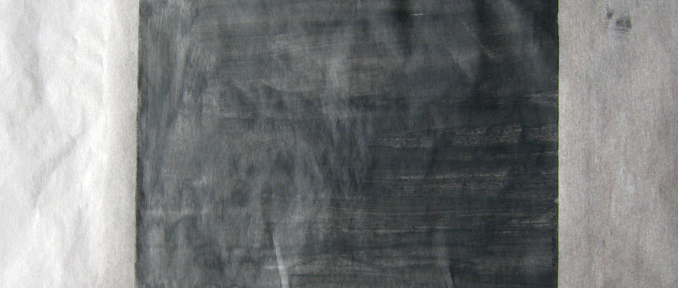
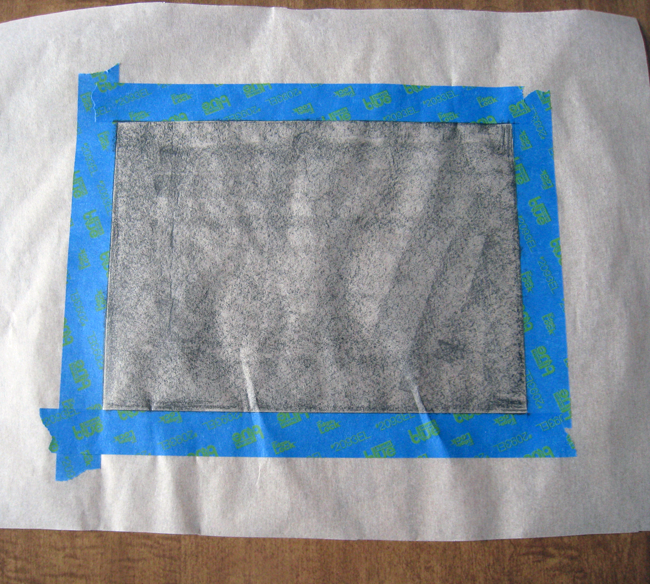
I rubbed the graphite stick onto the tracing paper.


4_Alcohol

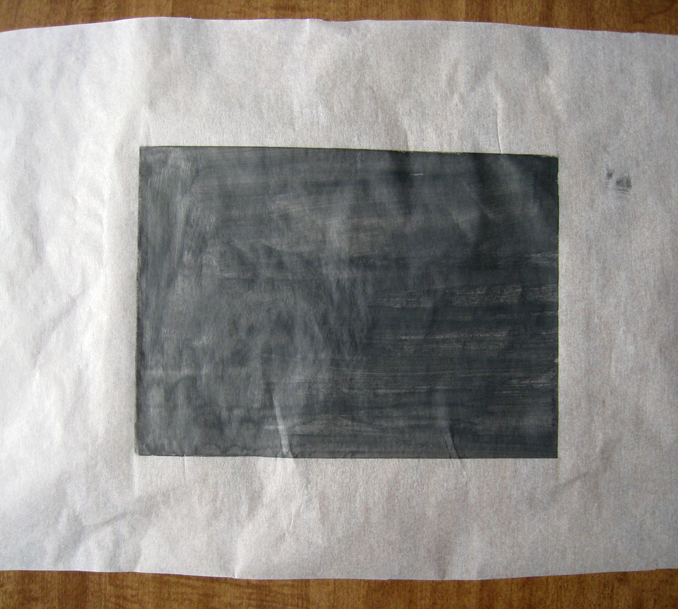
I set a piece of cardboard underneath the tracing paper so nothing would happen to the table (not sure if anything would happen but it doesn’t hurt to be cautious). I put a little bit of the isopropyl alcohol onto the tissue and gently wiped the graphite cover surface of the tracing paper. After that dried I carefully removed the tape. Please have adequate ventilation when using the isopropyl alcohol. It can make it hard to breathe and cause other problems.


5_Paper_Over_Board

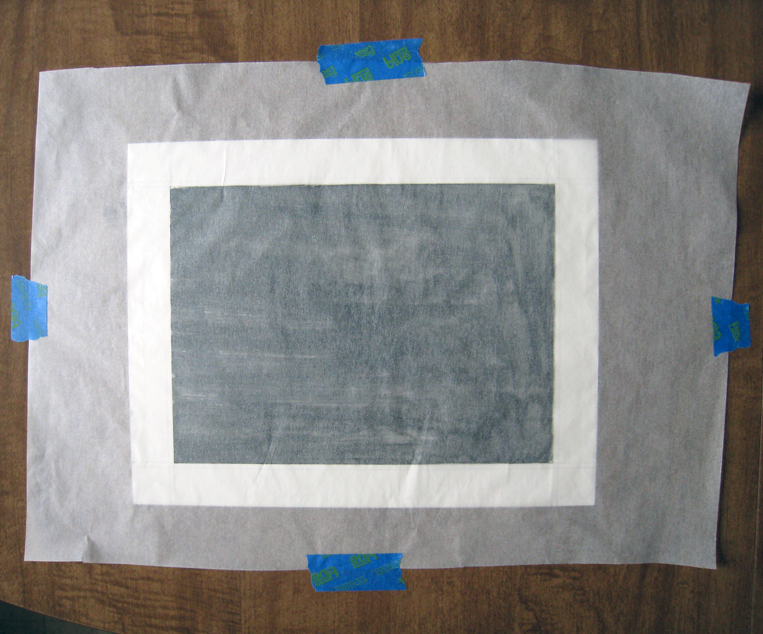
I flipped my DIY graphite transfer paper over and placed it in the correct spot on top of my illustration board.


6_Taped_Drawing

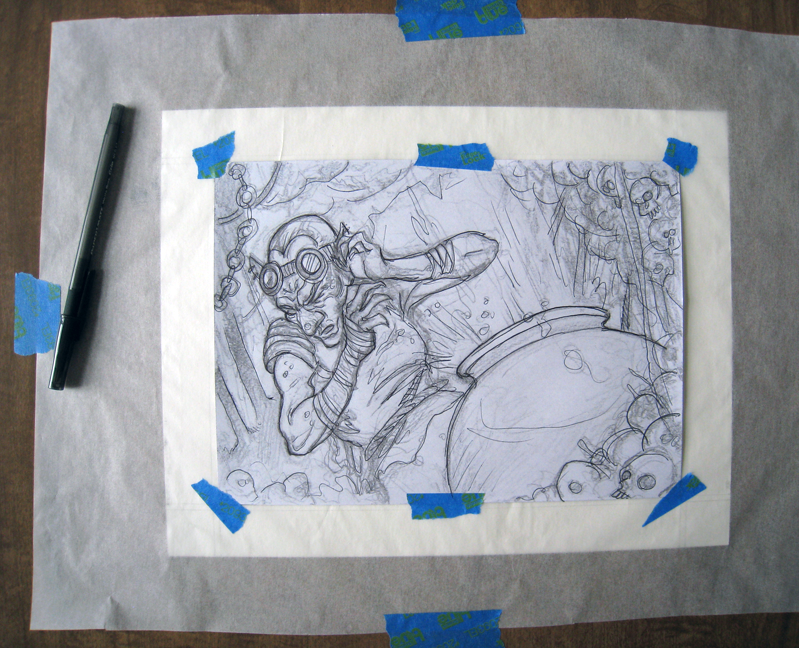
I taped my printout onto the transfer paper.


7_Tracing

I traced along the lines of my printout using a ballpoint pen. You can use a sharp pencil, or some sort of stylus too.


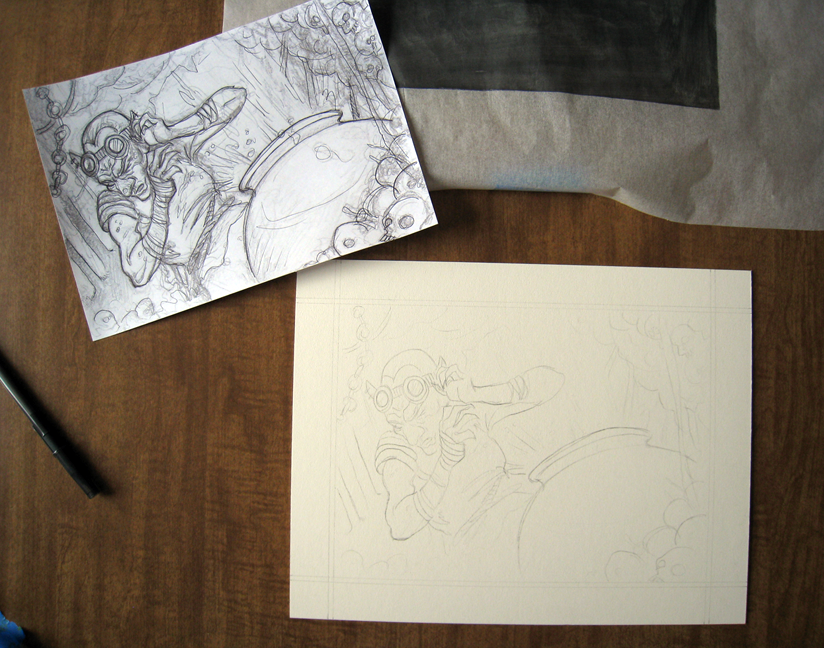
8_DoneThe final transfer! It’s done! Now it’s time refine some things on the drawing and then paint.

If you have other interesting ways to transfer images to your final substrates, I’d love to hear them!

Luke Cage Watercolor

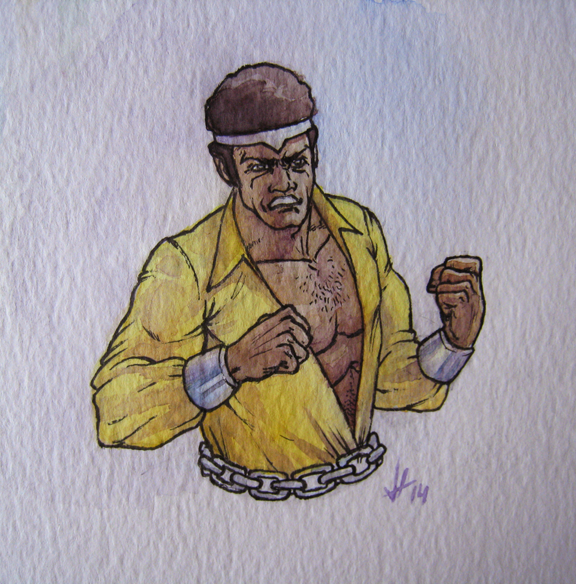
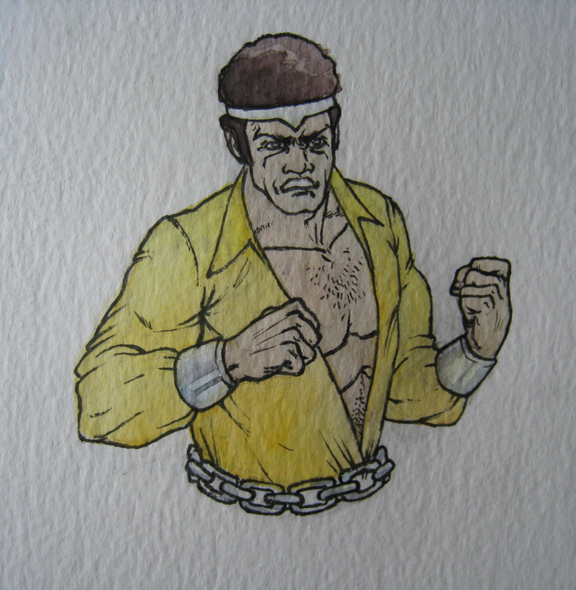
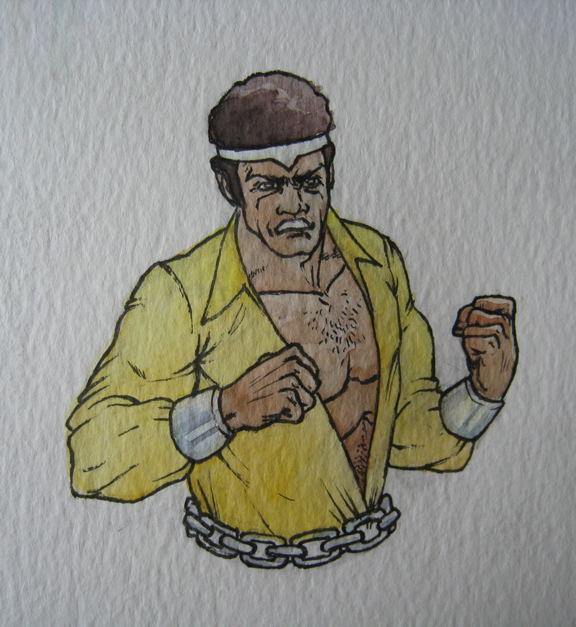
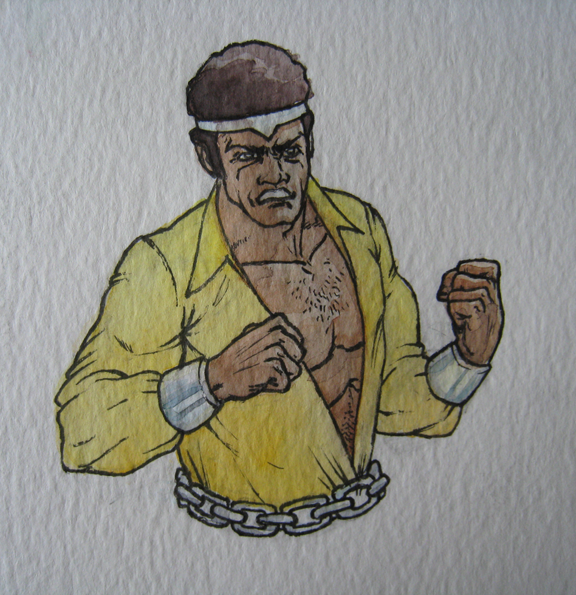
I’m still testing out my new waterbrush, but this time instead of painting a castle, I painted Marvel’s Luke Cage aka Power Man (in his old costume of course).

Luke Cage WatercolorHere’s the finished watercolor sketch. It would look a lot better if I had a nice scan of it.

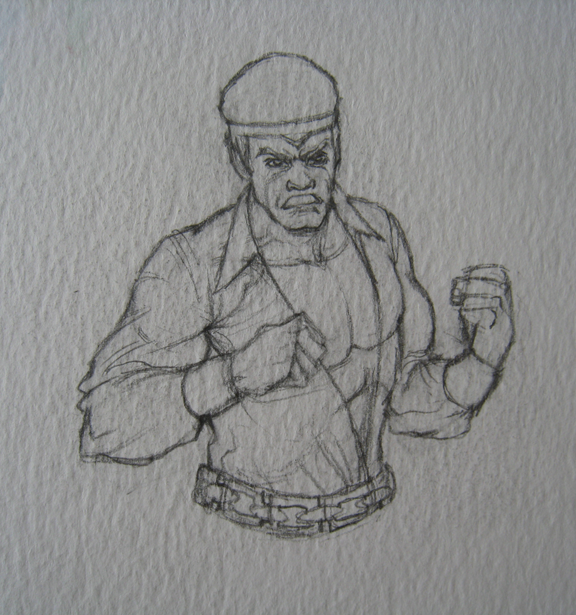
1_Luke_Cage_Pencils

I started with a pencil sketch.

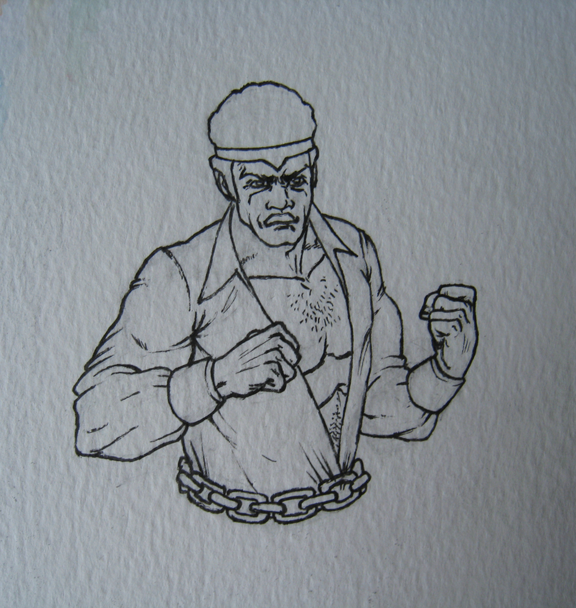
2_Luke_Cage_Inks

Next, I inked the pencil sketch. I erased the pencil drawing too. Luke Cage doesn’t look as angry in the inked drawing as he did in the pencil drawing. That’s just poor inking on my part.

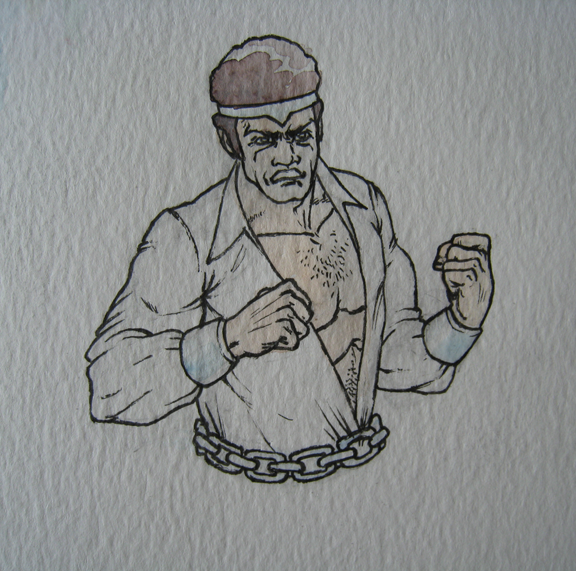
3_Luke_Cage

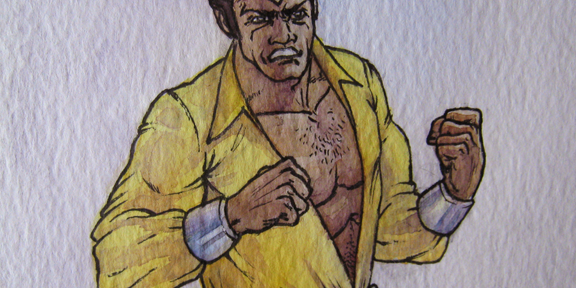
Adding light washes of watercolor to establish the local color.

4_Luke_Cage

Adding more washes of watercolor.

5_Luke_Cage

Continuing to add more washes (pretty simple, right?)

6_Luke_CageContinuing…


And the final image:

Luke Cage WatercolorOnce I get a nice scan of it I’ll add it to my blog.


Looking Back On 2013

2013 Collage

2013 Highlights

2014 is here and I’m anxious to accomplish many things this year. It’s hard to believe that my blog has now been around for a year (Although technically the first post was on January 10, 2013). I somehow found something to talk about each month! When I first started my blog I had no idea how long it took to create a good post. Some posts take several hours to write, revise (and revise again many times), add photos, and much more. I certainly appreciate the work that blog writers put into their posts, now that I know how much effort is required to post meaningful content.

In this post we are looking back on 2013 at some highlighted posts.

The Monoprice tablet unboxing and review:

Some notable painting process posts:

Some art:

Art book reviews:

Miscellaneous:

I hope you have a happy new year and stick to your new year resolutions (unless your resolution is something awful like drowning 100 kittens; then I don’t hope you stick to your new year resolutions).

Milk and Cookies Process

Milk and Cookies

Baking for Santa

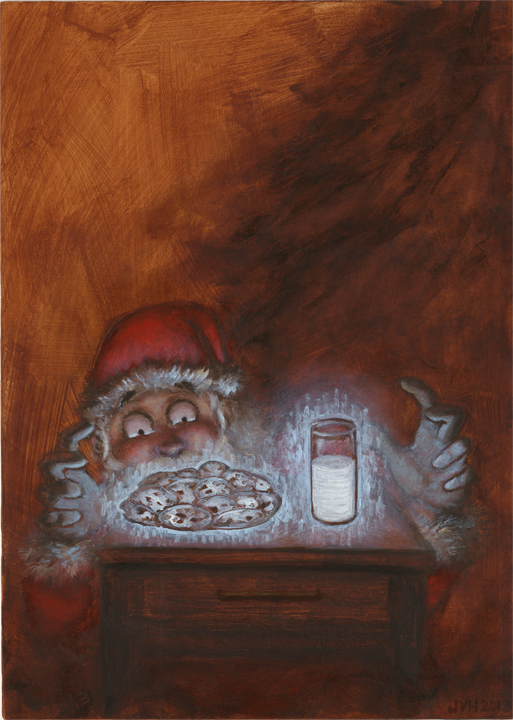
In a past post I showed you my Milk and Cookies painting. I told you to stay tuned for the process shots of the painting and I like to keep my word, so feast your orbs on these Milk and Cookies process photos!

If you follow me on Twitter then you have probably seen this preliminary sketch of my idea for the Milk and Cookies painting:

Milk and Cookies Sketch

This sketch includes dialogue!


Milk and Cookies Process 1

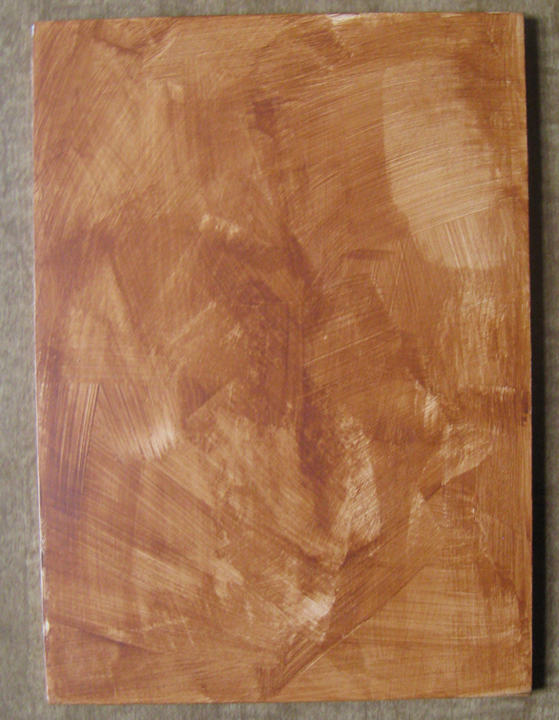
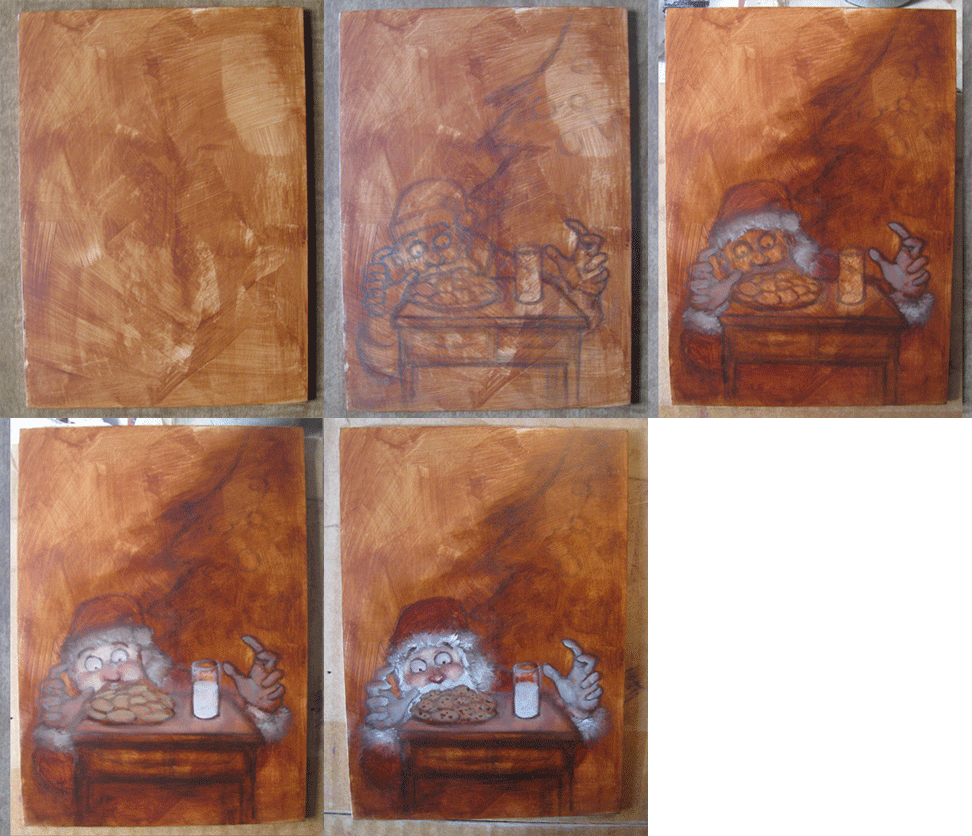
I toned this board a couple of months ago in preparation for a still life painting that I never got around to painting, so I decided to use it for the Milk and Cookies painting. Here we have the hardboard coated with washes of acrylic paint to establish a base color for the painting (also known as imprimatura).
 

Milk and Cookies Process 2

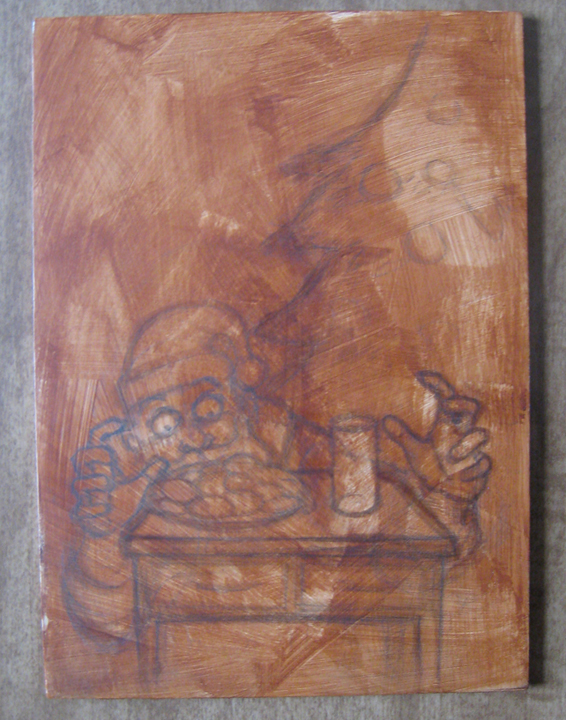
Next, I drew directly on the board with pencils (probably 2H and HB pencils).
 

Milk and Cookies Process 3

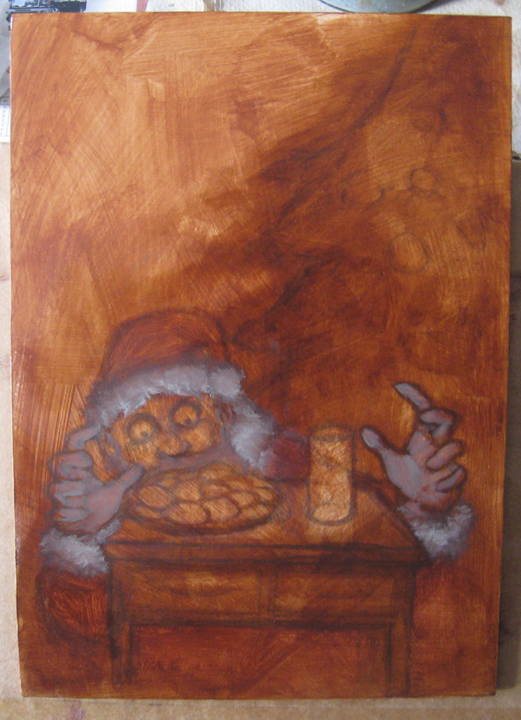
Then I began oil painting, beginning with some thinly applied darker colors to establish some local color.
 

Milk and Cookies Process 4

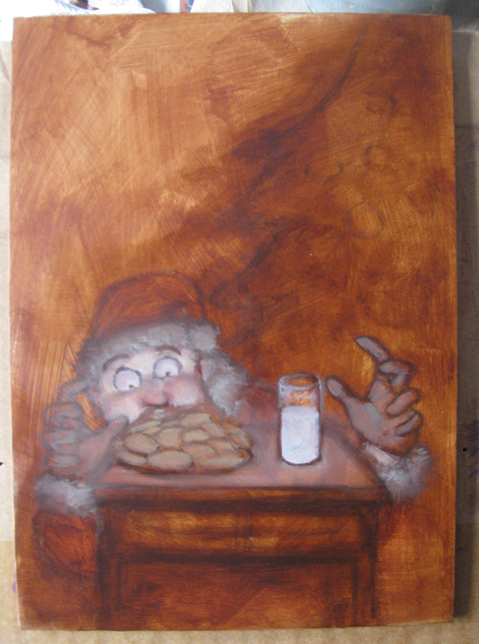
More oil paint is added to the painting! Wow! This photo was taken when the painting was about halfway done. When you reach this point while painting you often need to check yourself and remain calm. The painting doesn’t look so hot. You know better than that! It’s going to be wonderful! You have to remind yourself that all is well and that the painting will come together after you add some highlights.
 

Milk and Cookies Process 5

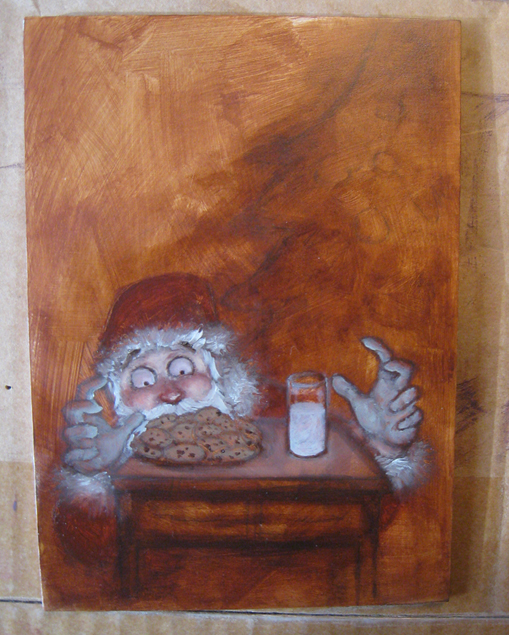
Said highlights are added. Doesn’t that look much better? I told you that it would come together.

Then I forgot to take any more photos because that’s what happens when you lose yourself in a painting and really start to have fun. Plus, it’s a pain to have to constantly remove my painting gloves (surgical gloves–so you could say that I do surgery on boards with paint), hunt down the terrible point-and-shoot camera and try hard to get a photo that’s not completely blurred.

I wasn’t sure how I was going to show the glow of the cookies and milk but I decided on a unnatural blue color and I had a blast with the mark making.

Here’s an animated GIF:
Milk-and-Cookies-Process-Animated


Post Processing

It’s not very often that you’re shown the post-process part of the process, so let’s change that. After the painting is dry (I add Liquin to my paint so I only had to wait about 2 days for it to be completely dry–it would have been dry sooner but a few thick brushstrokes of titanium white paint were still damp after day 1 [because the paint was thicker, and because white paint dries slowly]) I bring it to school where I scan it on one of their fancy scanners (The scanners are used by the whole school so they happen to have scratched glass, which means I have to pick out little dust spots and scratches after I scan my artwork).

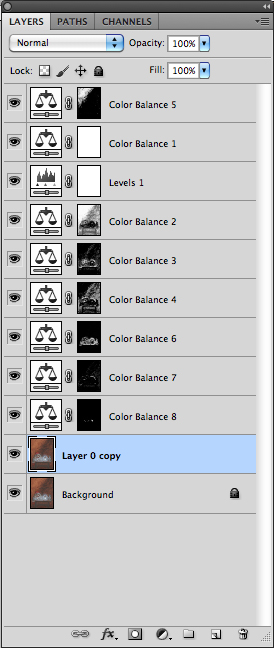
Once I scan my painting, I edit the scanned painting in Adobe Photoshop and start adjusting the colors and levels to match my original painting. There’s a lot of tinkering with the scanned painting until it finally resembles the original (And then you have things to worry about like the color calibration on your monitor, the level of brightness of your monitor when color correcting scanned artwork, the type of lighting affecting the painting as you compare it to your screen, etc.). It still never beats how the original actually looks in person.


Milk and Cookies Scan

Ew. Look at how flat and lifeless the painting appears.

Here’s what the painting looks like when scanned, but before the digital magic that makes it look like the actual painting (Which probably still doesn’t look close to the original painting because of how our monitors are calibrated).
 

Milk and Cookies Post Processing

Here’s an image of my layers palette, showing you all of the adjustments I had to make to the scanned painting. This doesn’t show the dust and scratches I removed either.

Here’s an animated look at the before and after of the digital post processing:
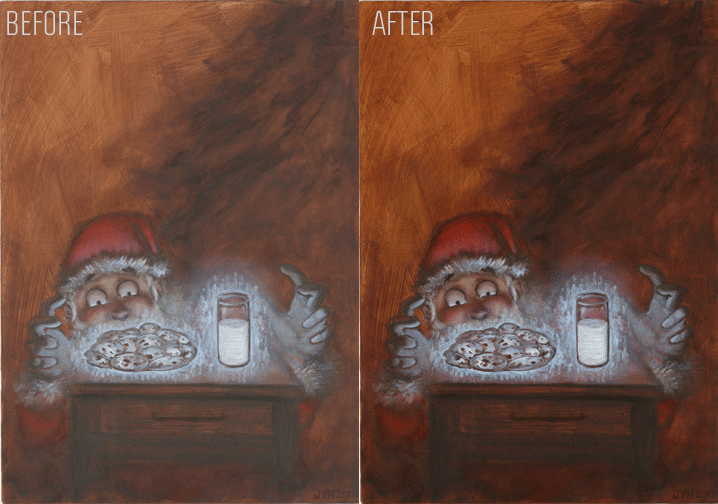
Milk-and-Cookies-Before-After

Some day I’ll probably do an entire blog post about post processing for artwork.

 At The Gallery

Non Christmas Christmas Show

Notice the great looking frame on that painting.

Finally, here I am at the Fountain Street Church Keeler Gallery Non-Christmas Christmas Show. The show runs through January 2, 2014, so get there while you still can!

I had the painting framed by MercuryHead Gallery. I’m always satisfied with the service they provide and I enjoy talking art with the folks over there.

You can purchase the Milk and Cookies painting! Talk to the people in charge at the Keeler Gallery in Fountain Street Church, or contact me. If you’d rather buy prints, or pillows, or what have you, then you can stop by my Society6 store and do just that!

If you have any questions or comments, please feel free to drop my a line in the comments.

Anticipating Milk and Cookies

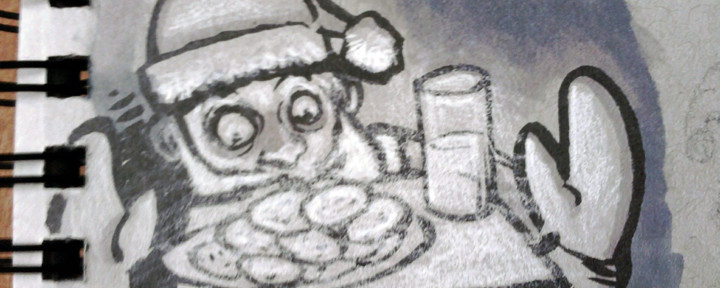
Santa loves milk and cookies. I painted him anticipating some milk and cookies. Here’s a sneak peek of a painting that I have in the Fountain Street Church Keeler Gallery Non-Christmas Christmas Show. The theme of the show is Anticipation. The show runs November 27, 2013 through January 2, 2014. This photo was taken during the process of the painting, so some things have changed. I’m pretty sure that I took several process photos, so stay tuned for more art!

Santa anticipating some milk and cookies