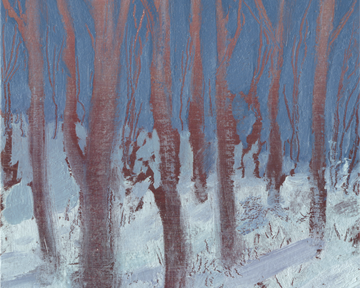
Milk and Cookies Process

Milk and Cookies

Baking for Santa

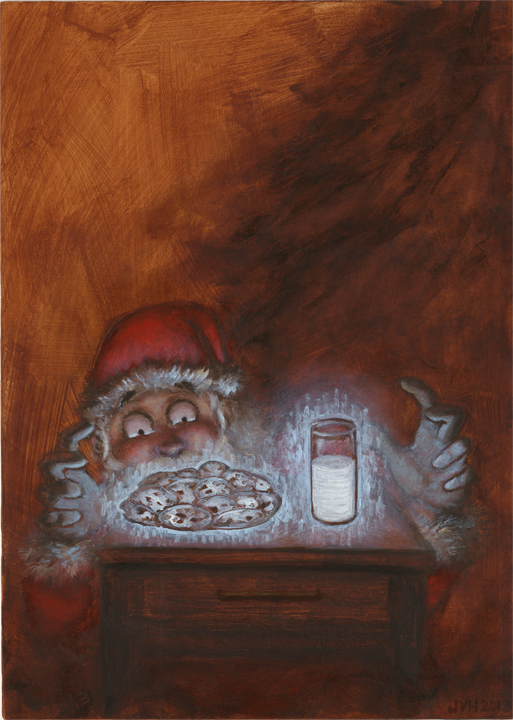
In a past post I showed you my Milk and Cookies painting. I told you to stay tuned for the process shots of the painting and I like to keep my word, so feast your orbs on these Milk and Cookies process photos!

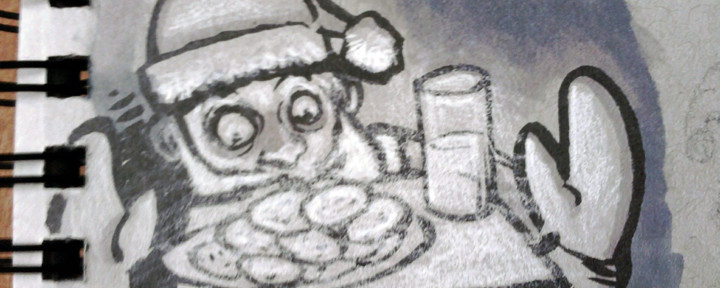
If you follow me on Twitter then you have probably seen this preliminary sketch of my idea for the Milk and Cookies painting:

Milk and Cookies Sketch

This sketch includes dialogue!


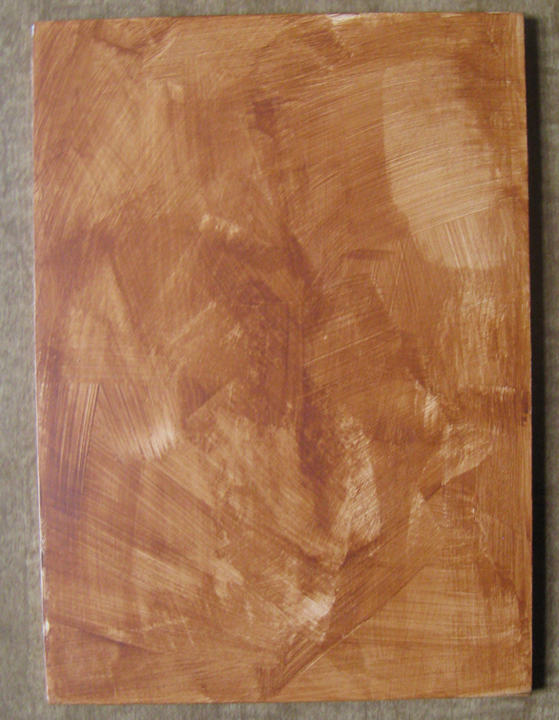
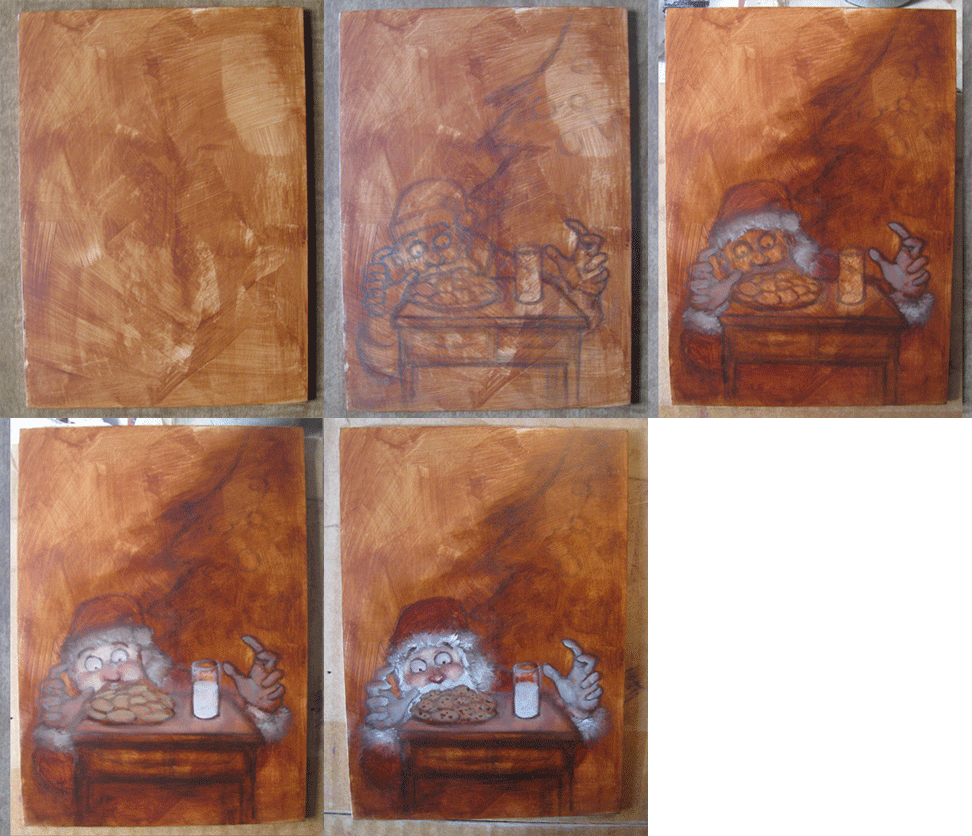
Milk and Cookies Process 1

I toned this board a couple of months ago in preparation for a still life painting that I never got around to painting, so I decided to use it for the Milk and Cookies painting. Here we have the hardboard coated with washes of acrylic paint to establish a base color for the painting (also known as imprimatura).


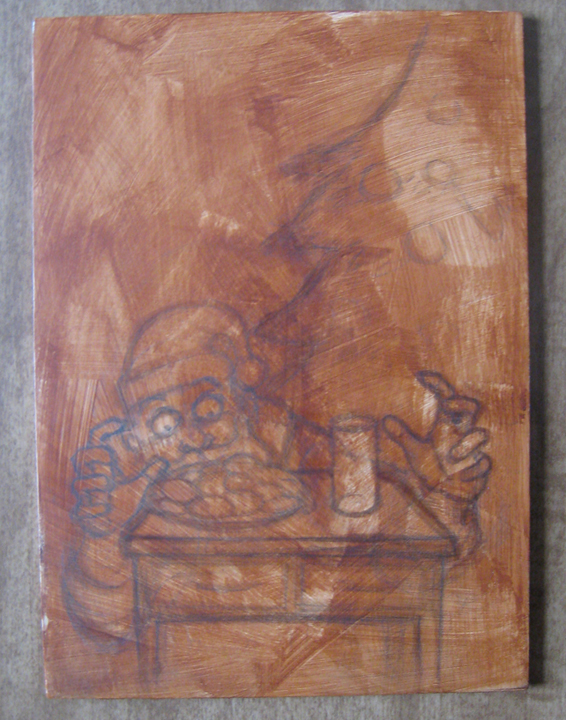
Milk and Cookies Process 2

Next, I drew directly on the board with pencils (probably 2H and HB pencils).


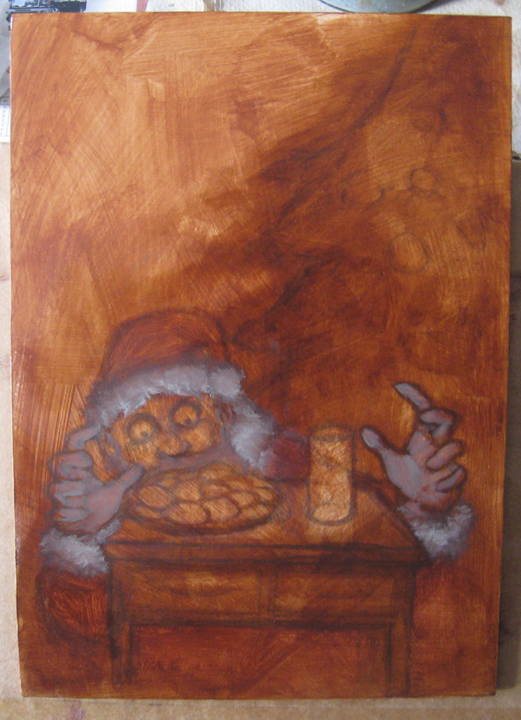
Milk and Cookies Process 3

Then I began oil painting, beginning with some thinly applied darker colors to establish some local color.


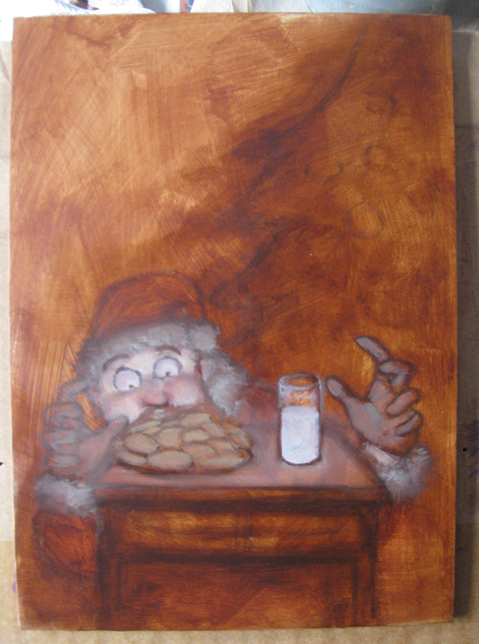
Milk and Cookies Process 4

More oil paint is added to the painting! Wow! This photo was taken when the painting was about halfway done. When you reach this point while painting you often need to check yourself and remain calm. The painting doesn’t look so hot. You know better than that! It’s going to be wonderful! You have to remind yourself that all is well and that the painting will come together after you add some highlights.


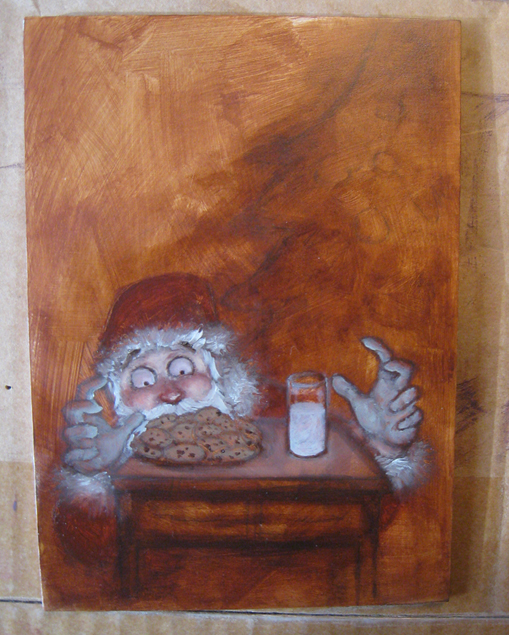
Milk and Cookies Process 5

Said highlights are added. Doesn’t that look much better? I told you that it would come together.

Then I forgot to take any more photos because that’s what happens when you lose yourself in a painting and really start to have fun. Plus, it’s a pain to have to constantly remove my painting gloves (surgical gloves–so you could say that I do surgery on boards with paint), hunt down the terrible point-and-shoot camera and try hard to get a photo that’s not completely blurred.

I wasn’t sure how I was going to show the glow of the cookies and milk but I decided on a unnatural blue color and I had a blast with the mark making.

Here’s an animated GIF:

Milk-and-Cookies-Process-Animated


Post Processing

It’s not very often that you’re shown the post-process part of the process, so let’s change that. After the painting is dry (I add Liquin to my paint so I only had to wait about 2 days for it to be completely dry–it would have been dry sooner but a few thick brushstrokes of titanium white paint were still damp after day 1 [because the paint was thicker, and because white paint dries slowly]) I bring it to school where I scan it on one of their fancy scanners (The scanners are used by the whole school so they happen to have scratched glass, which means I have to pick out little dust spots and scratches after I scan my artwork).

Once I scan my painting, I edit the scanned painting in Adobe Photoshop and start adjusting the colors and levels to match my original painting. There’s a lot of tinkering with the scanned painting until it finally resembles the original (And then you have things to worry about like the color calibration on your monitor, the level of brightness of your monitor when color correcting scanned artwork, the type of lighting affecting the painting as you compare it to your screen, etc.). It still never beats how the original actually looks in person.


Milk and Cookies Scan

Ew. Look at how flat and lifeless the painting appears.

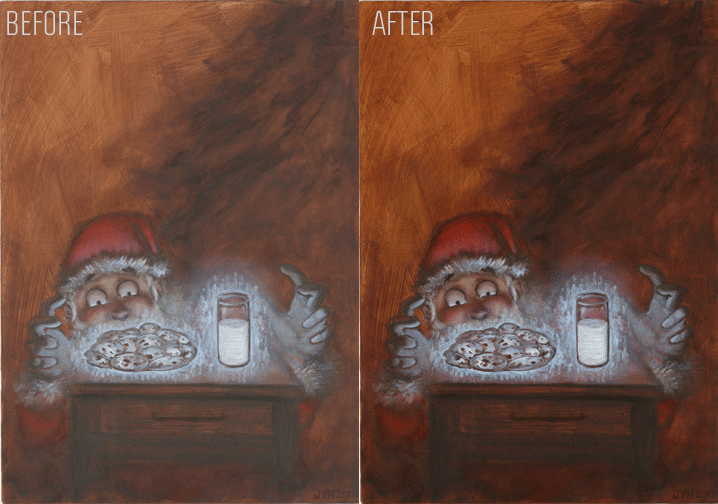
Here’s what the painting looks like when scanned, but before the digital magic that makes it look like the actual painting (Which probably still doesn’t look close to the original painting because of how our monitors are calibrated).


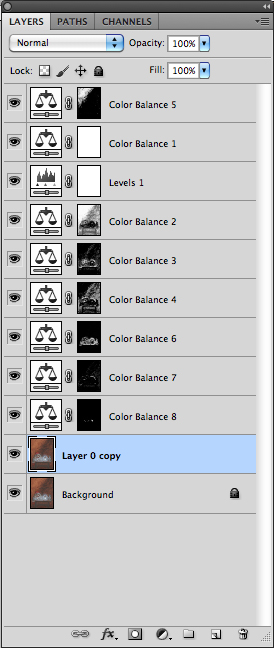
Milk and Cookies Post Processing

Here’s an image of my layers palette, showing you all of the adjustments I had to make to the scanned painting. This doesn’t show the dust and scratches I removed either.

Here’s an animated look at the before and after of the digital post processing:

Milk-and-Cookies-Before-After

Some day I’ll probably do an entire blog post about post processing for artwork.

 At The Gallery

Non Christmas Christmas Show

Notice the great looking frame on that painting.

Finally, here I am at the Fountain Street Church Keeler Gallery Non-Christmas Christmas Show. The show runs through January 2, 2014, so get there while you still can!

I had the painting framed by MercuryHead Gallery. I’m always satisfied with the service they provide and I enjoy talking art with the folks over there.

You can purchase the Milk and Cookies painting! Talk to the people in charge at the Keeler Gallery in Fountain Street Church, or contact me. If you’d rather buy prints, or pillows, or what have you, then you can stop by my Society6 store and do just that!

If you have any questions or comments, please feel free to drop my a line in the comments.

Milk and Cookies

Milk and Cookies

5″ x 7″ acrylic and oil on panel

Here’s an oil painting (technically acrylic paint, pencil, and oil paint) of mine that is currently in the Fountain Street Church Keeler Gallery Non-Christmas Christmas Show. In my “Anticipating Milk and Cookies” post, I showed a little preview of this painting. The show is running until January 2, 2014. Please go check it out (there are a lot of subtle details and colors that are better seen in person) and if you want to purchase the painting, you can purchase it at the show, or you can contact me (the same goes for pretty much any of my art). Stay tuned for the process shots of the painting!


Note: the painting looks pretty accurate when I turn my screen brightness up but otherwise it’s pretty dark. I’m not sure how bright my monitor should be when color correcting artwork. Any thoughts?

You can purchase prints of this painting, as well as other items on my Society6 store.

Anticipating Milk and Cookies

Santa loves milk and cookies. I painted him anticipating some milk and cookies. Here’s a sneak peek of a painting that I have in the Fountain Street Church Keeler Gallery Non-Christmas Christmas Show. The theme of the show is Anticipation. The show runs November 27, 2013 through January 2, 2014. This photo was taken during the process of the painting, so some things have changed. I’m pretty sure that I took several process photos, so stay tuned for more art!

Santa anticipating some milk and cookies

Drawing and Painting Fantasy Figures Review

Drawing_and_Painting_Fantasy_Figures_Cover

Drawing and Painting Fantasy Figures: From the Imagination to the Page

Here’s my quick review of Drawing and Painting Fantasy Figures by Finlay Cowan. I wrote this review a couple of months ago and forgot to post it. Don’t buy this book unless you have no idea that wizards are in the fantasy genre, or if you want to learn how to draw badly. I don’t have any personal grudges against Finlay Cowan (he has good ideas and his design work is nice but he definitely isn’t known for his draughtsmanship) but wow, this book is bad (Although it’s not so bad that it should be burned–it’s just a bad art book in my opinion). Most of the drawings seem amateurish (or maybe all of the twelve-year-olds that I see draw are trying to copy his style), and unless somebody can draw well, I don’t think they should teach anyone else how to draw. The 3d modeled images in this book are terrible. However, I have to remind myself that this book was published in 2003 (so the 3d modeling obviously won’t hold up to the 2013 3d standards).

I have to give Finlay Cowan kudos for including so many topics in one book (perspective, anatomy, painting, storyboarding etc.), but the reader would be better off if they learned perspective, anatomy, painting, and storyboarding from other books dedicated to those subjects.

One of the only things I found interesting in this book were the designs that Finlay Cowan drew for Pink Floyd album art (seen below).

Finlay_Cowan_Pink_Floyd

Image from Amazon.com

If you really want this book, you can buy the book here. I don’t understand how, but at the time of writing this review, Drawing and Painting Fantasy Figures has an average 3.8 rating (out of 5 stars) on Amazon. Maybe the reviewers are much younger than me. Maybe they can’t draw very well or haven’t read very many art books. Whatever the case, some people enjoyed this book so you might too (though I hope you have higher standards for art books than those reviewers on Amazon).

Surtur Rising Process

It’s been a while since I’ve shown some process shots of my art so let’s take a look at an older gouache painting. The painting assignment restricted my palette to just black and white.

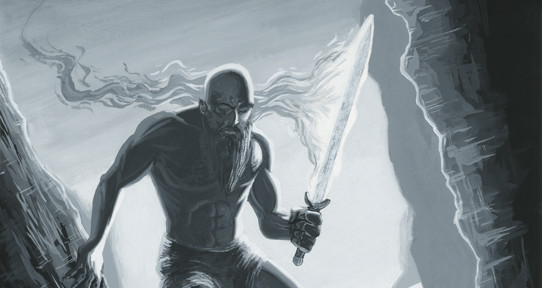
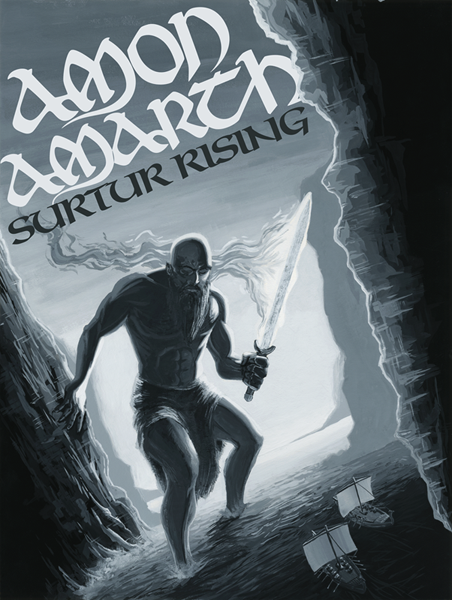
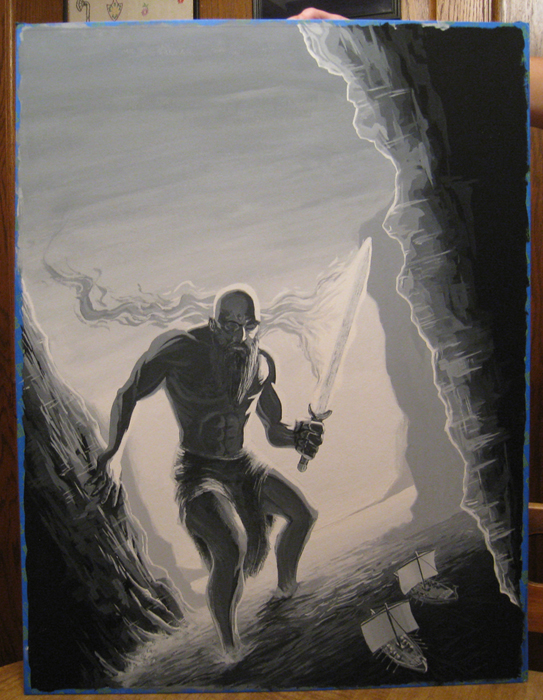
Here’s the painting:

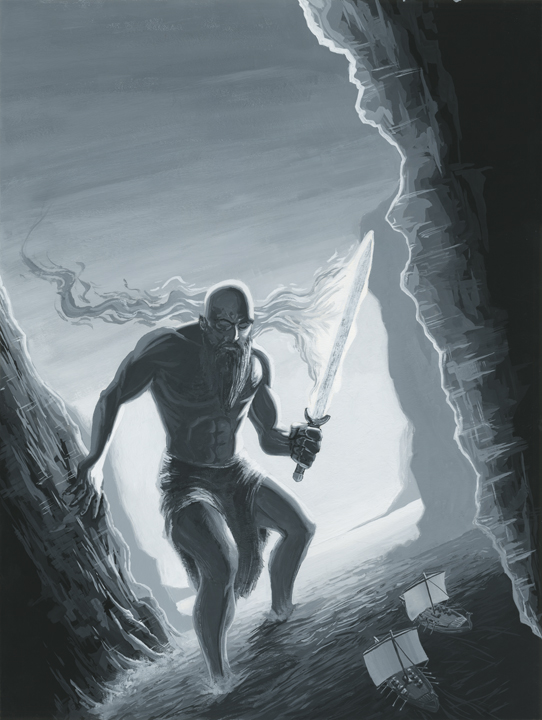
Surtur RisingNow you may be asking yourself “who or what is Surtur?” or “what the heck is Amon Amarth?”

Surtur (also known as Surtr) is a jötunn (aka a giant) from Norse mythology (aka Scandinavian mythology). He also has a fiery sword. That’s pretty much all you need to know. Amon Amarth is a band that doesn’t like to be labelled “viking metal”. They sing (or growl or whatever you want to call it) about vikings. They have viking themed albums. They love norse mythology. Whatever. They are a melodic death metal band. One of their albums is Surtur Rising.

Now onto the process:

Instead of doing a grisly and dark illustration that is typically associated with bands like Amon Amarth, I decided to do a “comicy” style illustration. Side note: this painting is probably the first gouache painting I did since I took the color theory class years ago.

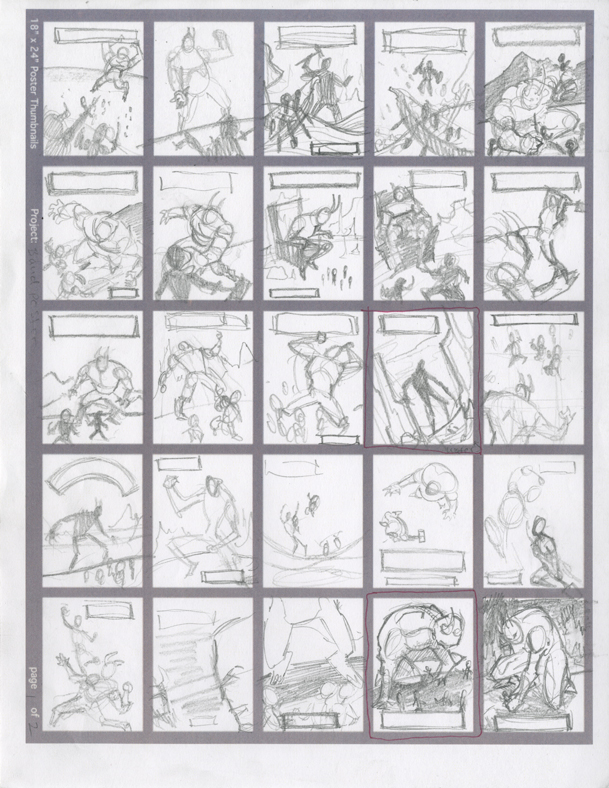
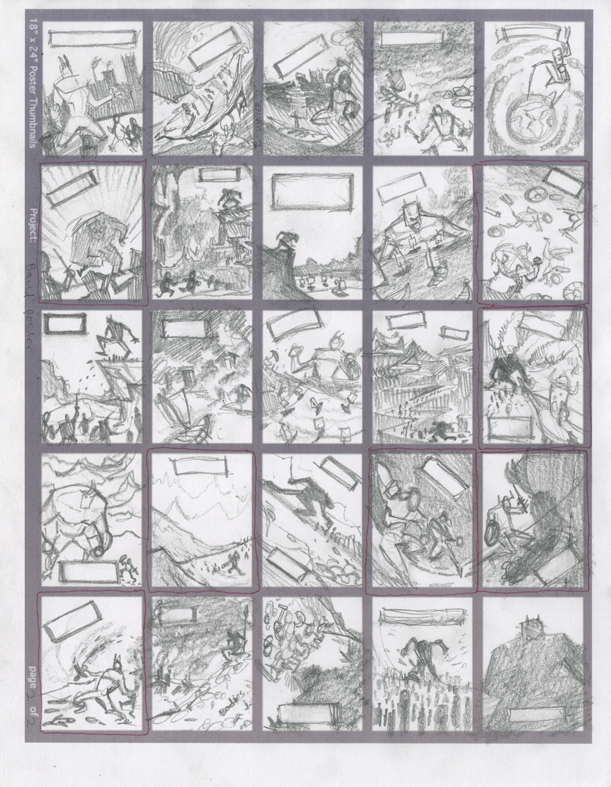
To begin, here are the 50 thumbnails I did prior to deciding on a composition (each thumbnail is about 1.375″ x 1.875″). Because the illustration was going to be a poster I had to also think about text placement when designing my composition.

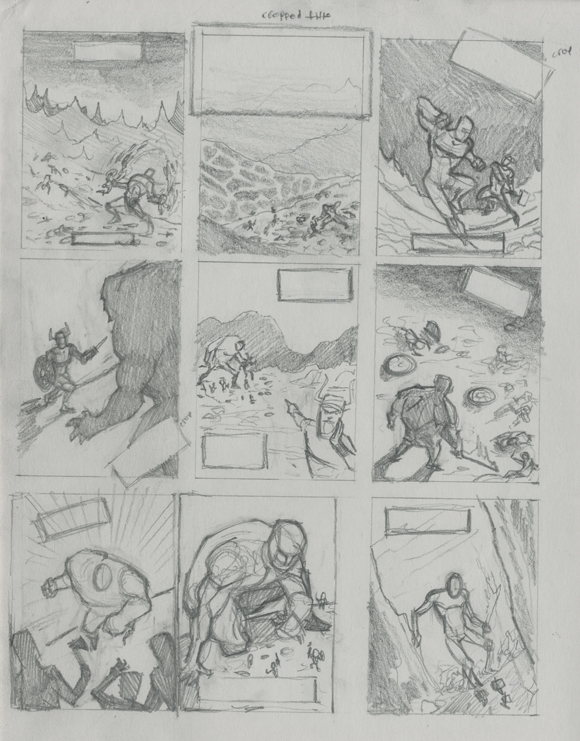
Surtur Rising Thumbnails 1Surtur Rising Thumbnails 2 Sometimes I’m kind of undecided about things, maybe (see what I did there?). I chose some thumbnails that I especially liked from the 50 above and drew some larger refined thumbnail drawings. Each thumbnail is 2.25″ x 3″. I drew them on gray paper because I had some gray paper left over from when I operated an offset printer in high school and I figured “why not?” (don’t answer that).

Surtur Rising Refined Thumbnails

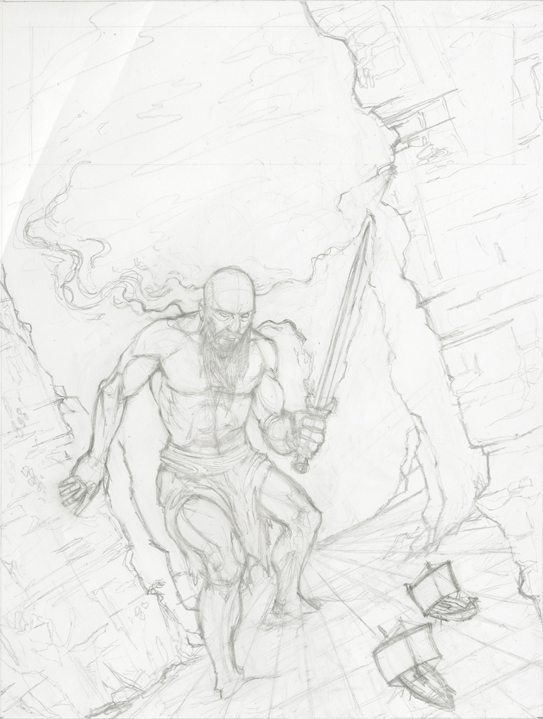
I decided on the design and composition and drew up a larger drawing for the “pencils” stage. Not pictured are the reference photos I took for this illustration. The final pencil drawing is 7.5″ x 10″ (by the way, pretty much all of my art is for sale. If you want some original art, all you need to do is contact me). The pencil drawing is drawn on some horrible shiny paper. I don’t even know why this paper was manufactured. It’s very difficult to make revisions to the drawing because of the slick surface of the paper (also included are creases that I accidentally added to the paper).

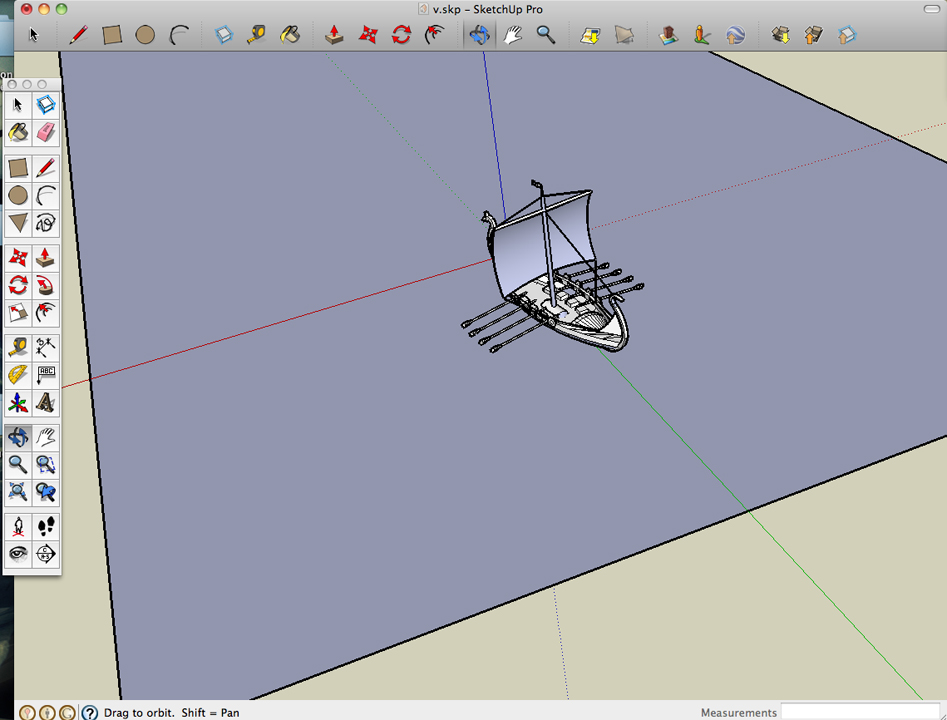
Surtur Rising PencilsTo figure out how the ships would look I downloaded a Google SketchUp model and used that as reference. When I made this painting I hated SketchUp. That’s mainly because I was only using the trackpad on my laptop instead of a mouse. Tip for anyone using SketchUp: use a mouse (the computer peripheral not the rodent).

Surtur Rising Sketchup

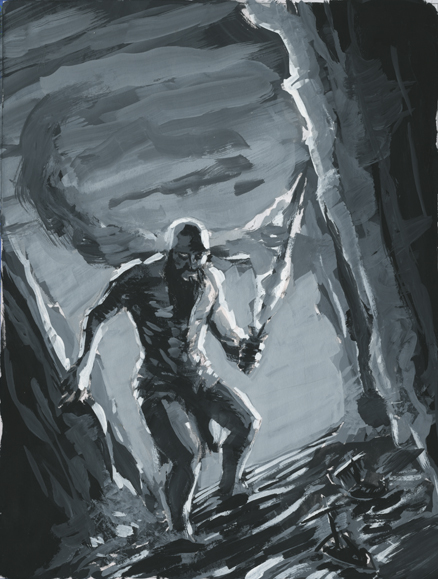
Next up I painted a value study for the painting. I find these to be more fun than the actual painting and often times I like them more than the final painting. They have a lot of energy and painterly marks. I scanned the drawing and printed it out on my B&W laser printer. I glued it to cardboard (probably the back of an oatmeal box because I recycle [you should recycle too]). This value study is 6″ x 8″.

Surtur Rising Value Study

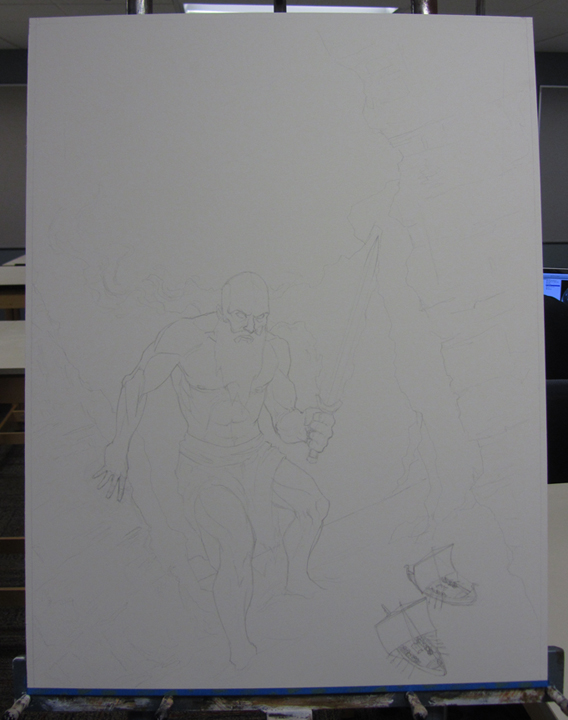
I only remembered to take a couple of photos of the illustration in progress.

Surtur Rising Pencils on Board The pencil drawing is transferred to the illustration board.

Surtur Rising Almost FinishedThe painting is almost finished.

Surtur Rising No TextAnd the painting before text was added.

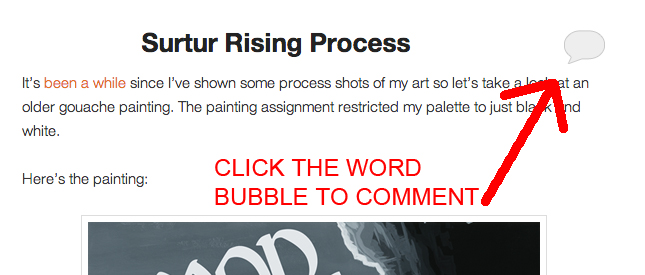
And that’s it for this episode of my creative process. What do you think? Feel free to leave a comment. Speaking of comments: It has come to my attention that some of the older less-computer-literate readers don’t know how to leave comments. If you are reading my blog on my homepage then you just simply click the gray word bubble next to the title of the blog post (see image below).
How to comment

If you have clicked on the blog post title, or you are only seeing one blog post with no other posts on the page then you can probably just scroll down the page and you should see a comment box. Congratulations! You now know how to comment! If you want more John VanHouten in your life between blog posts you can follow me on Twitter.

Creepy Dentist Sketch

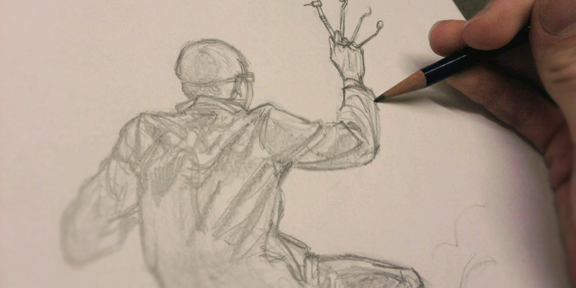
Here’s a sneak peak of me sketching a creepy dentist for an upcoming digital painting. Look at all of those tools in his evil teeth-cleaning hand (do you recognize any of those tools?). I posted this on Twitter (I encourage you to follow me on Twitter if you like art, or just crazy shenanigans–but mostly art) first but in case you missed it, here it is:

Creepy Dentist Sketch


And yes, that’s how I hold my pencil. I never said I was normal.