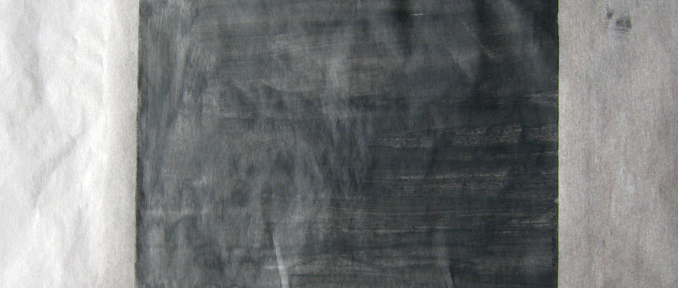
Learn how to inexpensively make graphite transfer paper!
If you are looking for an inexpensive way to transfer a drawing to your board or canvas then I recommend you make some DIY graphite transfer paper! Using a projector to transfer your drawings is very easy too but you have to spend hundreds of dollars on a nice projector (unless you are printing on transparencies and using an old overhead projector) and then you have to make sure the room is dark enough for you to see the projection and you have to line everything up and it can be a hassle. If you scan your drawing (which you should do anyways to add to your digital archive of artwork), and enlarge it, shrink it, do whatever you have to do, and print it out at the exact size of your painting, you can use graphite transfer paper to trace your drawing onto your final surface. Another interesting transfer method is using a printed copy from a laser printer and transferring the image using acrylic medium. I’ll post more about that method later.
What’s the point in buying graphite transfer paper if you can quickly and easily make it yourself? I’m always trying to save money when I can, and making some DIY graphite transfer paper is one way to save a little bit of cash. I should mention that sometimes “saving money” by doing something yourself actually can cost you more money in the end by taking up lots of your time. Time=money. Making your own graphite transfer paper is quick and easy though so you aren’t spending much time on this.
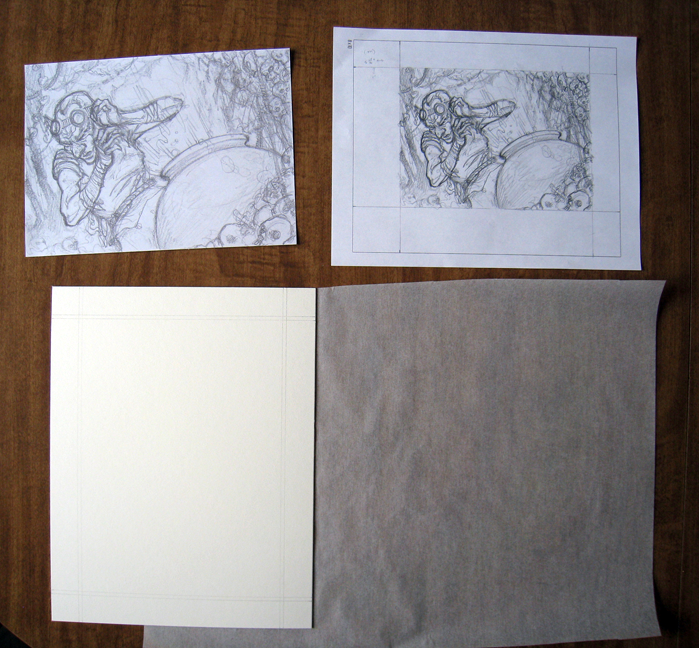
Here I have all of my materials ready. Clockwise from top left: my printed drawing at full size, my original drawing just for reference (not sure why I kept it in the photo), tracing paper, and the illustration board (already ruled and marked for bleed and with a border).
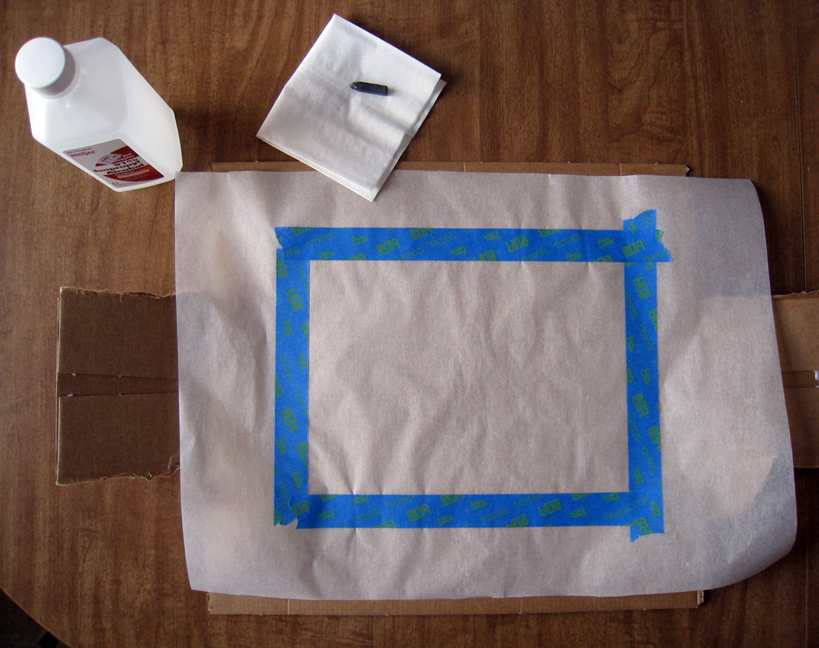
This step is optional but it helps to line up your drawing to your already marked borders on the final surface. I laid the tracing paper over my illustration board and, using the guides on the board, I place painters tape along the edges of the tracing paper. Also in the photo is some isopropyl alcohol, a tissue, a 6B graphite stick, and some cardboard.
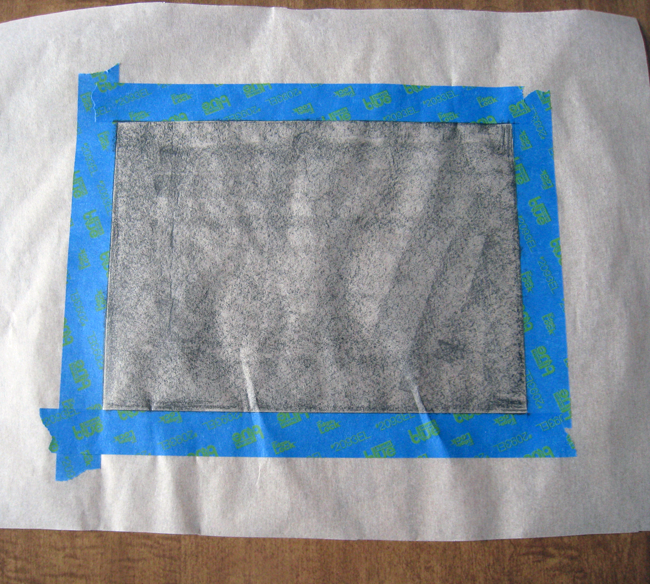
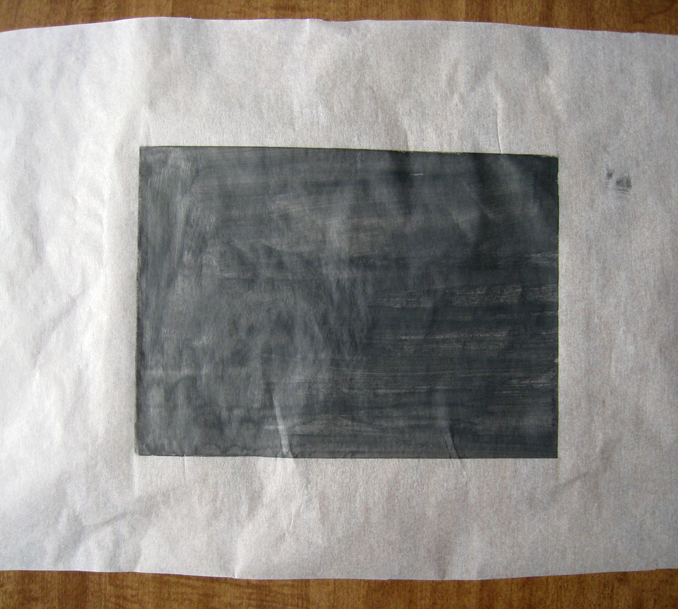
I rubbed the graphite stick onto the tracing paper.
I set a piece of cardboard underneath the tracing paper so nothing would happen to the table (not sure if anything would happen but it doesn’t hurt to be cautious). I put a little bit of the isopropyl alcohol onto the tissue and gently wiped the graphite cover surface of the tracing paper. After that dried I carefully removed the tape. Please have adequate ventilation when using the isopropyl alcohol. It can make it hard to breathe and cause other problems.
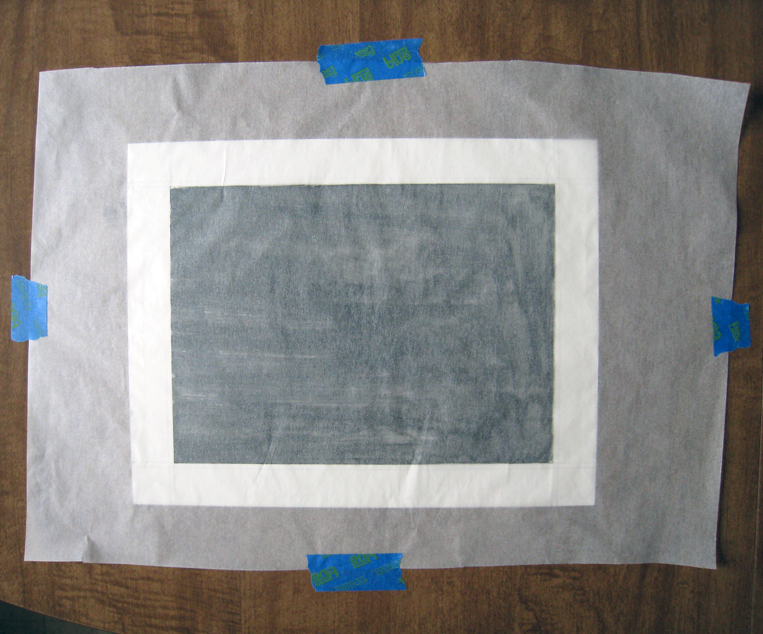
I flipped my DIY graphite transfer paper over and placed it in the correct spot on top of my illustration board.
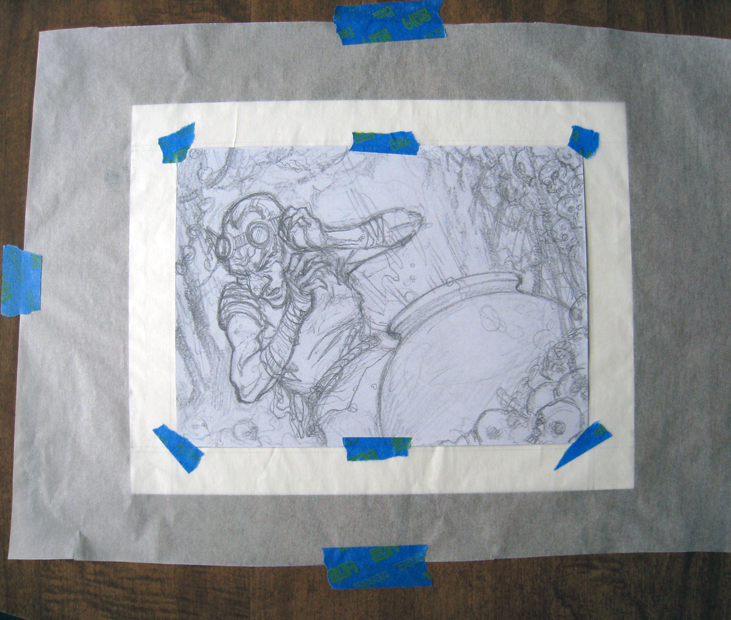
I taped my printout onto the transfer paper.
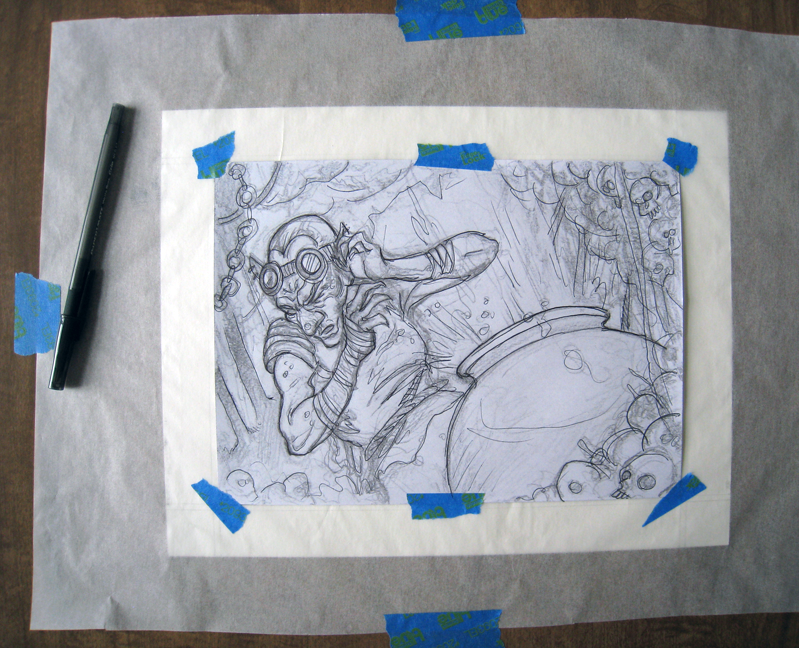
I traced along the lines of my printout using a ballpoint pen. You can use a sharp pencil, or some sort of stylus too.
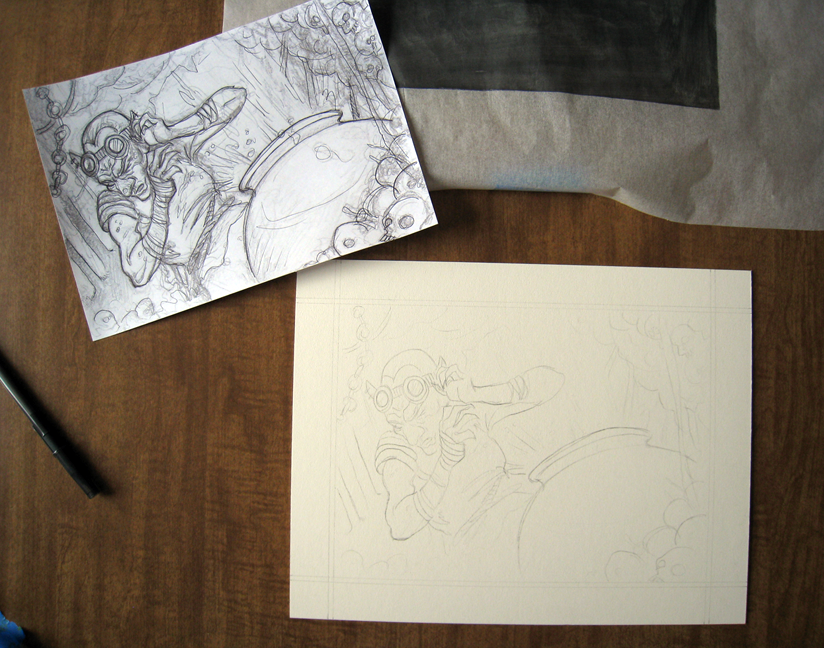 The final transfer! It’s done! Now it’s time refine some things on the drawing and then paint.

