Baking for Santa
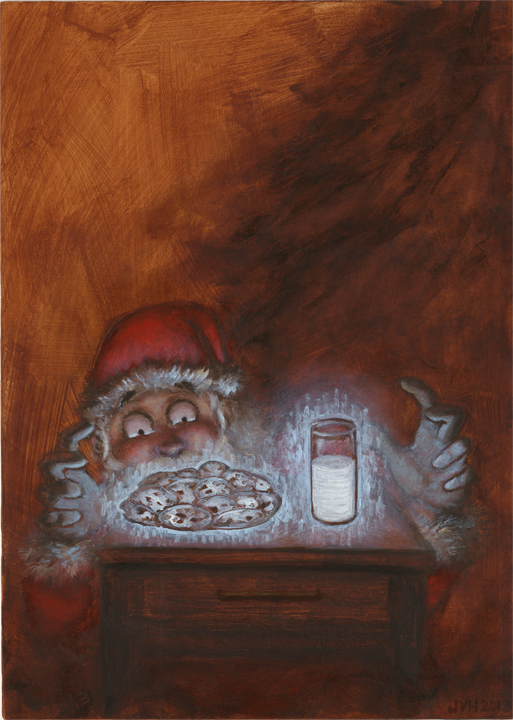
In a past post I showed you my Milk and Cookies painting. I told you to stay tuned for the process shots of the painting and I like to keep my word, so feast your orbs on these Milk and Cookies process photos!
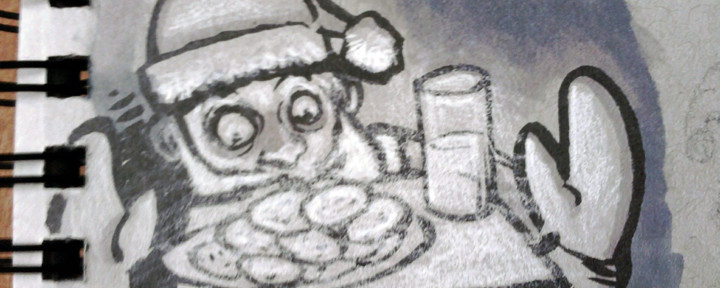
If you follow me on Twitter then you have probably seen this preliminary sketch of my idea for the Milk and Cookies painting:
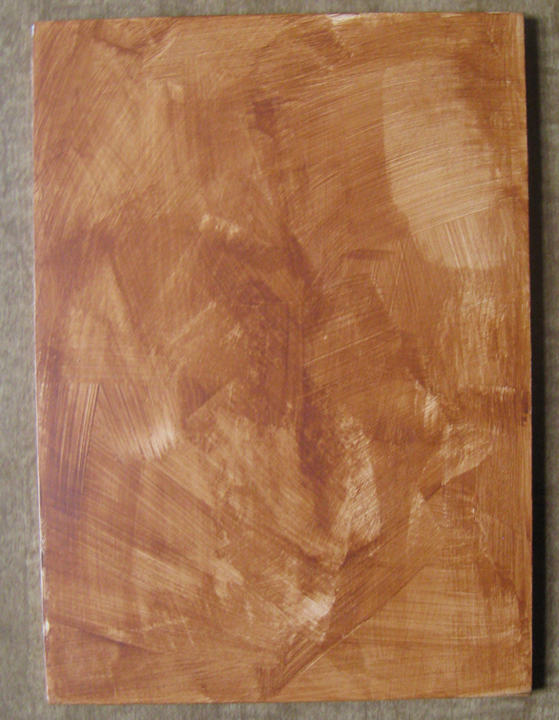
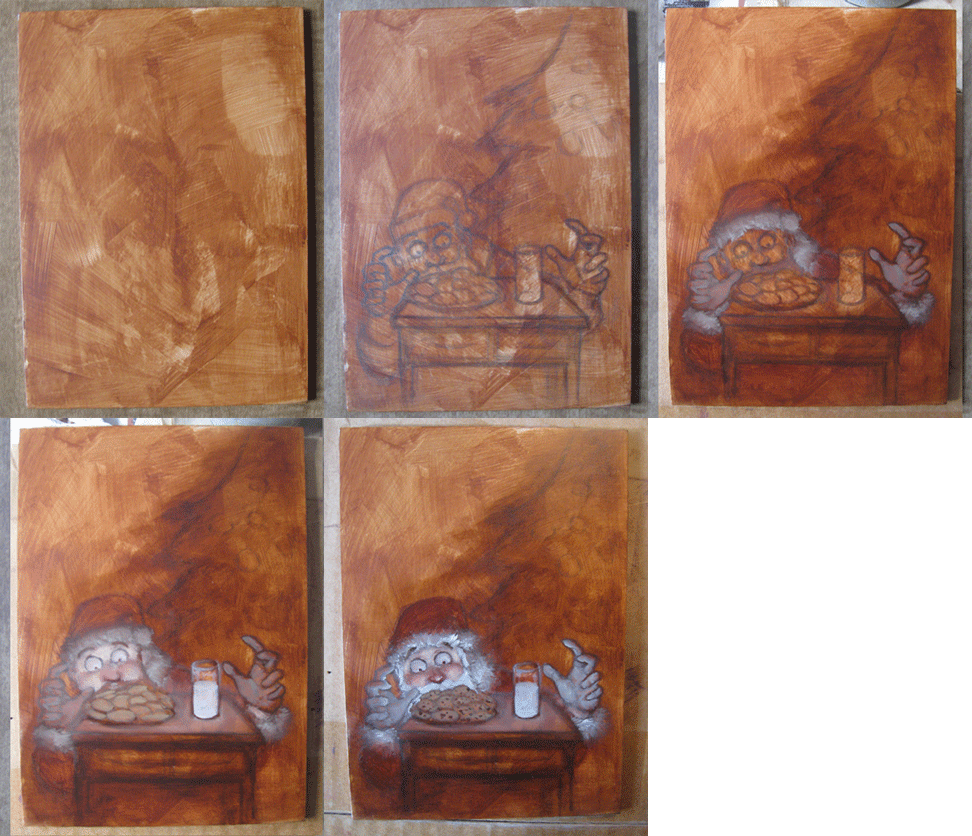
I toned this board a couple of months ago in preparation for a still life painting that I never got around to painting, so I decided to use it for the Milk and Cookies painting. Here we have the hardboard coated with washes of acrylic paint to establish a base color for the painting (also known as imprimatura).
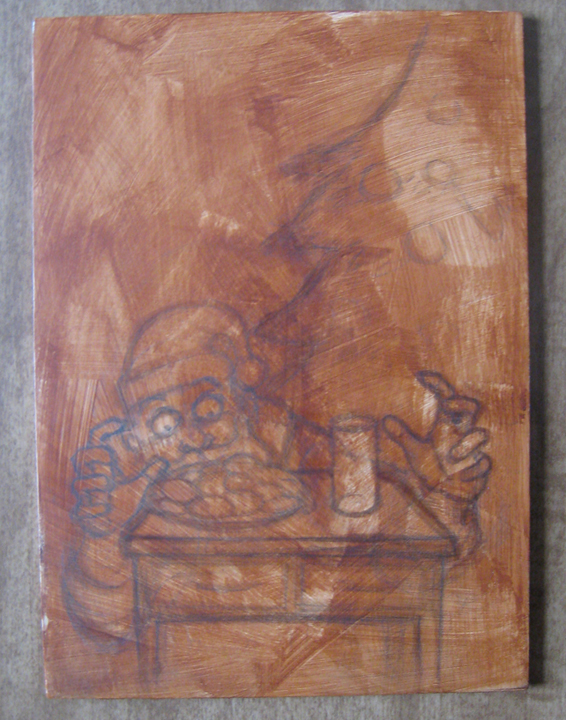
Next, I drew directly on the board with pencils (probably 2H and HB pencils).
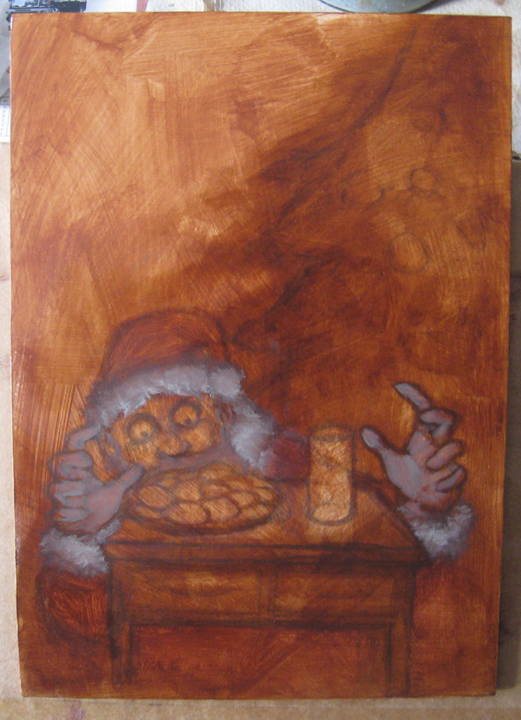
Then I began oil painting, beginning with some thinly applied darker colors to establish some local color.
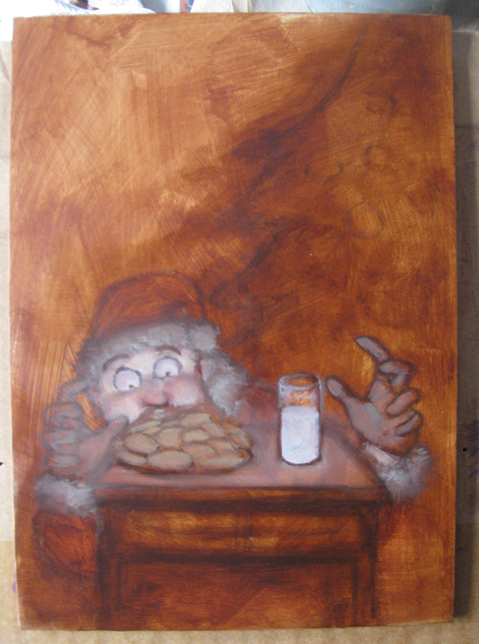
More oil paint is added to the painting! Wow! This photo was taken when the painting was about halfway done. When you reach this point while painting you often need to check yourself and remain calm. The painting doesn’t look so hot. You know better than that! It’s going to be wonderful! You have to remind yourself that all is well and that the painting will come together after you add some highlights.
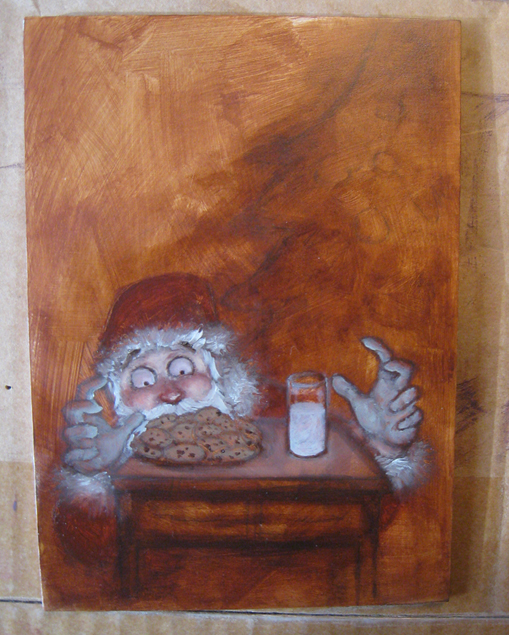
Said highlights are added. Doesn’t that look much better? I told you that it would come together.
Then I forgot to take any more photos because that’s what happens when you lose yourself in a painting and really start to have fun. Plus, it’s a pain to have to constantly remove my painting gloves (surgical gloves–so you could say that I do surgery on boards with paint), hunt down the terrible point-and-shoot camera and try hard to get a photo that’s not completely blurred.
I wasn’t sure how I was going to show the glow of the cookies and milk but I decided on a unnatural blue color and I had a blast with the mark making.
Here’s an animated GIF:
Post Processing
It’s not very often that you’re shown the post-process part of the process, so let’s change that. After the painting is dry (I add Liquin to my paint so I only had to wait about 2 days for it to be completely dry–it would have been dry sooner but a few thick brushstrokes of titanium white paint were still damp after day 1 [because the paint was thicker, and because white paint dries slowly]) I bring it to school where I scan it on one of their fancy scanners (The scanners are used by the whole school so they happen to have scratched glass, which means I have to pick out little dust spots and scratches after I scan my artwork).
Once I scan my painting, I edit the scanned painting in Adobe Photoshop and start adjusting the colors and levels to match my original painting. There’s a lot of tinkering with the scanned painting until it finally resembles the original (And then you have things to worry about like the color calibration on your monitor, the level of brightness of your monitor when color correcting scanned artwork, the type of lighting affecting the painting as you compare it to your screen, etc.). It still never beats how the original actually looks in person.
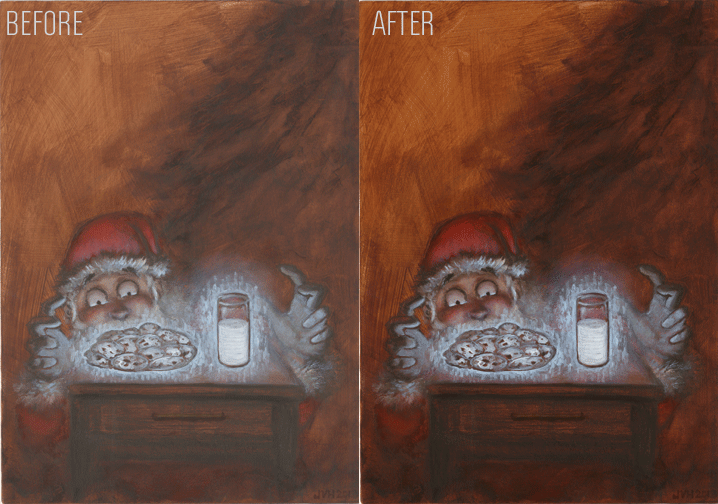
Here’s what the painting looks like when scanned, but before the digital magic that makes it look like the actual painting (Which probably still doesn’t look close to the original painting because of how our monitors are calibrated).
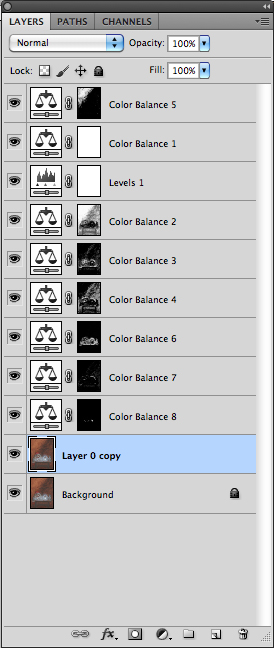
Here’s an image of my layers palette, showing you all of the adjustments I had to make to the scanned painting. This doesn’t show the dust and scratches I removed either.
Here’s an animated look at the before and after of the digital post processing:
Some day I’ll probably do an entire blog post about post processing for artwork.
At The Gallery
Finally, here I am at the Fountain Street Church Keeler Gallery Non-Christmas Christmas Show. The show runs through January 2, 2014, so get there while you still can!
I had the painting framed by MercuryHead Gallery. I’m always satisfied with the service they provide and I enjoy talking art with the folks over there.
You can purchase the Milk and Cookies painting! Talk to the people in charge at the Keeler Gallery in Fountain Street Church, or contact me. If you’d rather buy prints, or pillows, or what have you, then you can stop by my Society6 store and do just that!
If you have any questions or comments, please feel free to drop my a line in the comments.

