Here are some process photos for an older woodcut print I made of my dog Loki.
The aforementioned woodcut print (one of two variations):

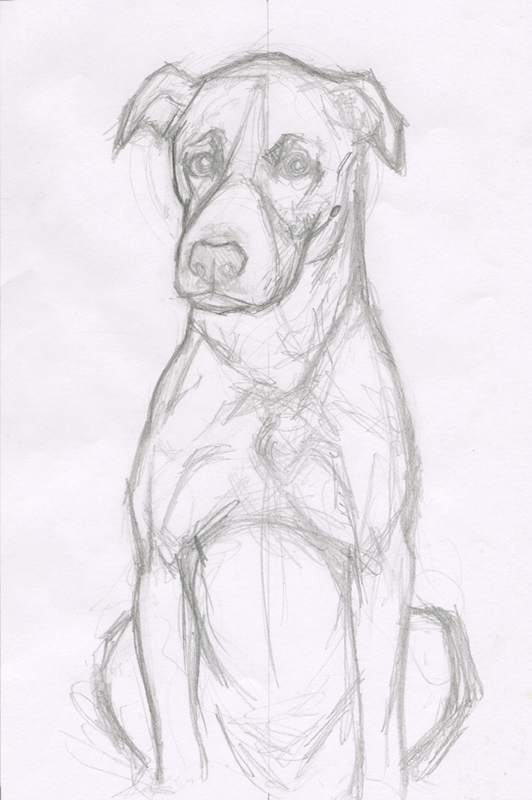
Here’s the preliminary pencil sketch:
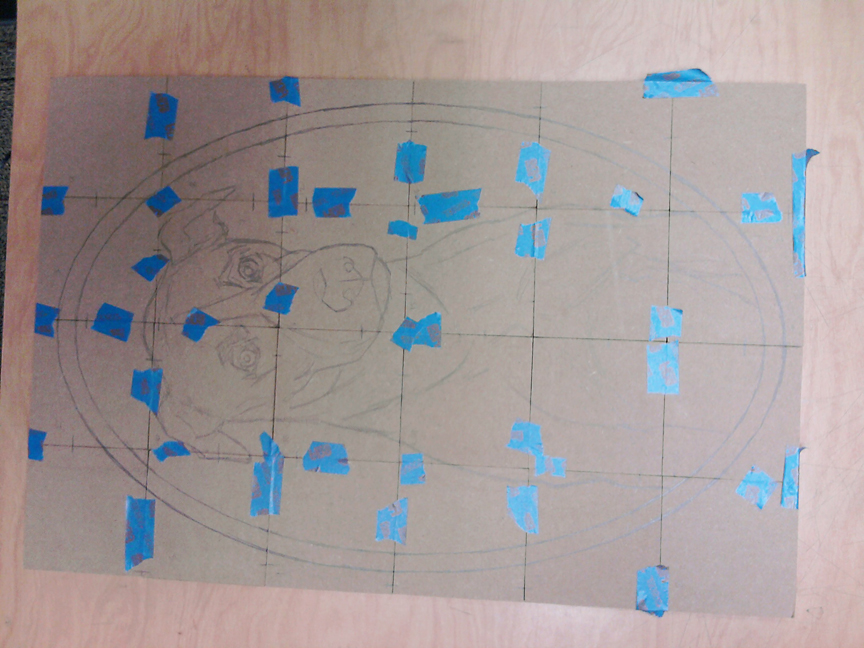
I used a projector and transferred my pencil sketch to the woodblocks (MDF). I had to tape the woodblocks together so that they wouldn’t move as I drew on them (and they did move a little bit). Note that I flipped the image before transferring because when you print it prints in reverse.
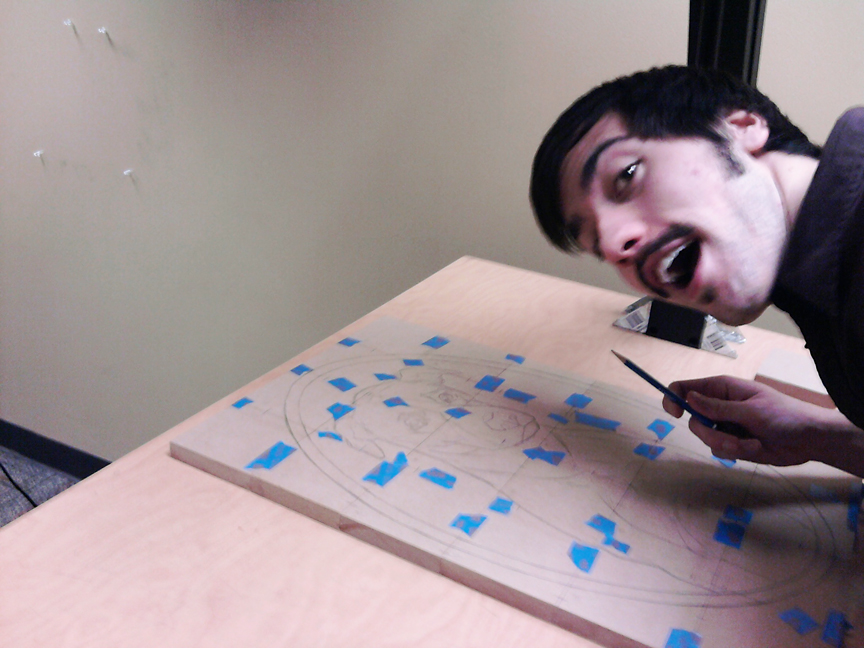
After I had my drawing on the MDF blocks I then had to use woodcutting tools to gouge out the recesses in the wood and then it was time to ink and print.
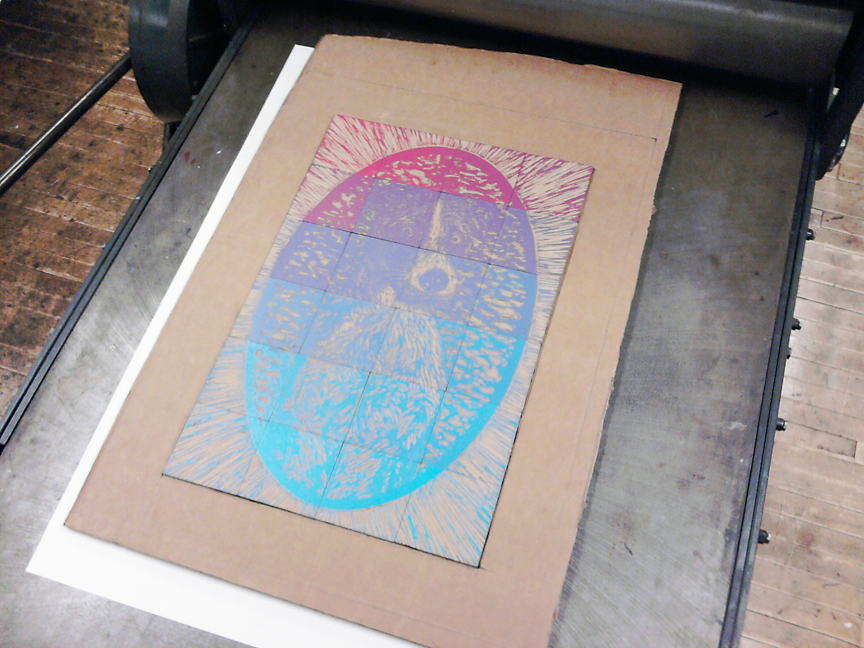
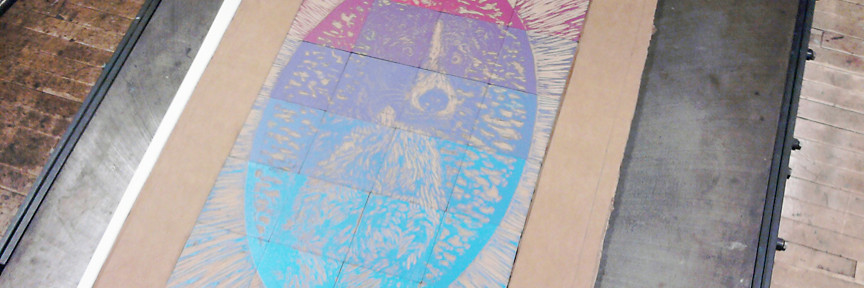
And here’s a photo of the blocks inked up, before I ran it through the press. I made a custom jig to hold the blocks together using some spare cardboard. I think that was my brother’s idea.

Nice one. Printmaking is very hard to do well and you really excelled.